In April of 2007, I spent three weeks on vacation in Paris and it was the most amazing experience of my life. A year earlier, a girlfriend of mine had quit her job and moved there to live the artist dream to study the masters and paint. Luckily, I was able to stay with her in a small apartment before her Visa expired. For a small town girl like me, going to Paris was literally living a dream — going up the Eiffel tower, visiting the Louvre and shopping the flea markets.
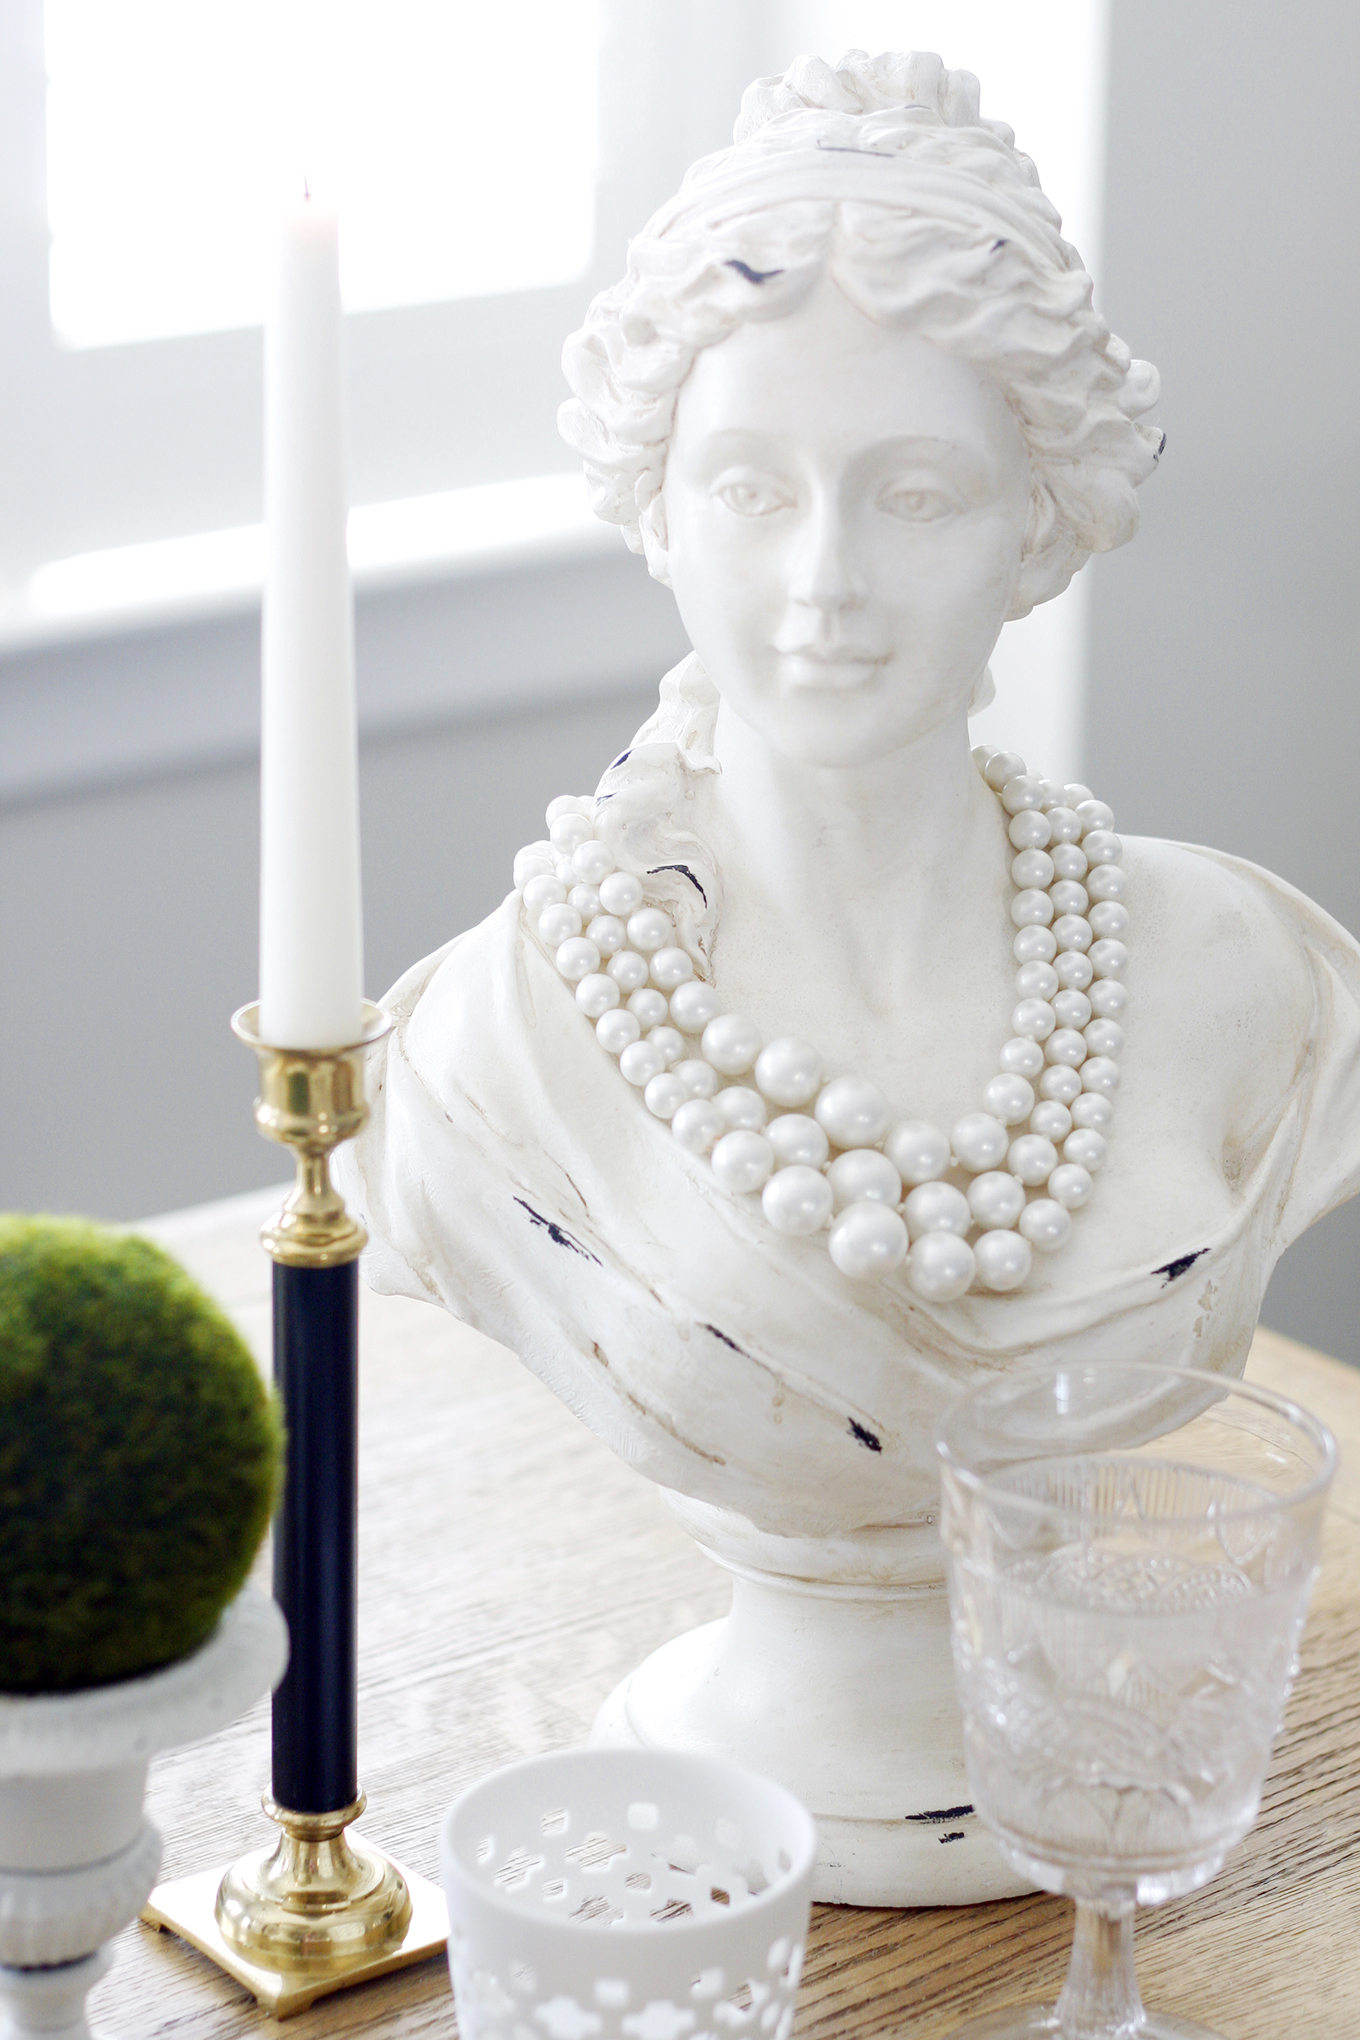
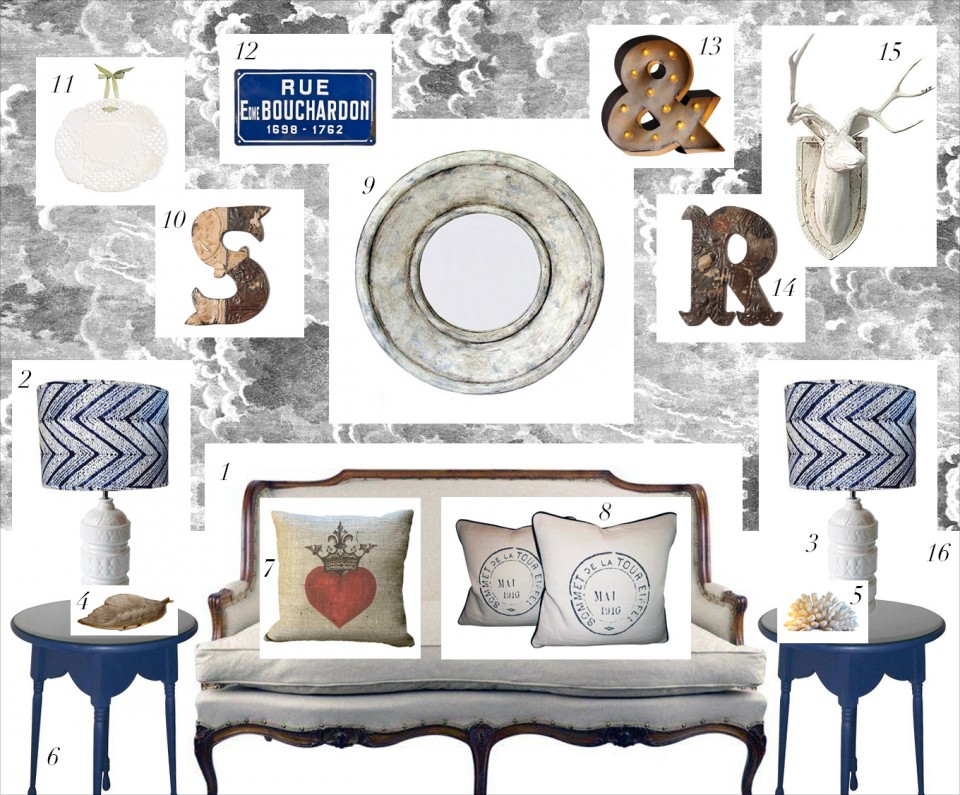
Since I do not have any plans to go back to Paris anytime soon, I was inspired to bring back the look and feel of my time spent there through a French inspired garden tablescape. I put together a style board showcasing some of my favourite things — monogrammed wreath laurel, marble busts, manicured gardens and grand architecture.
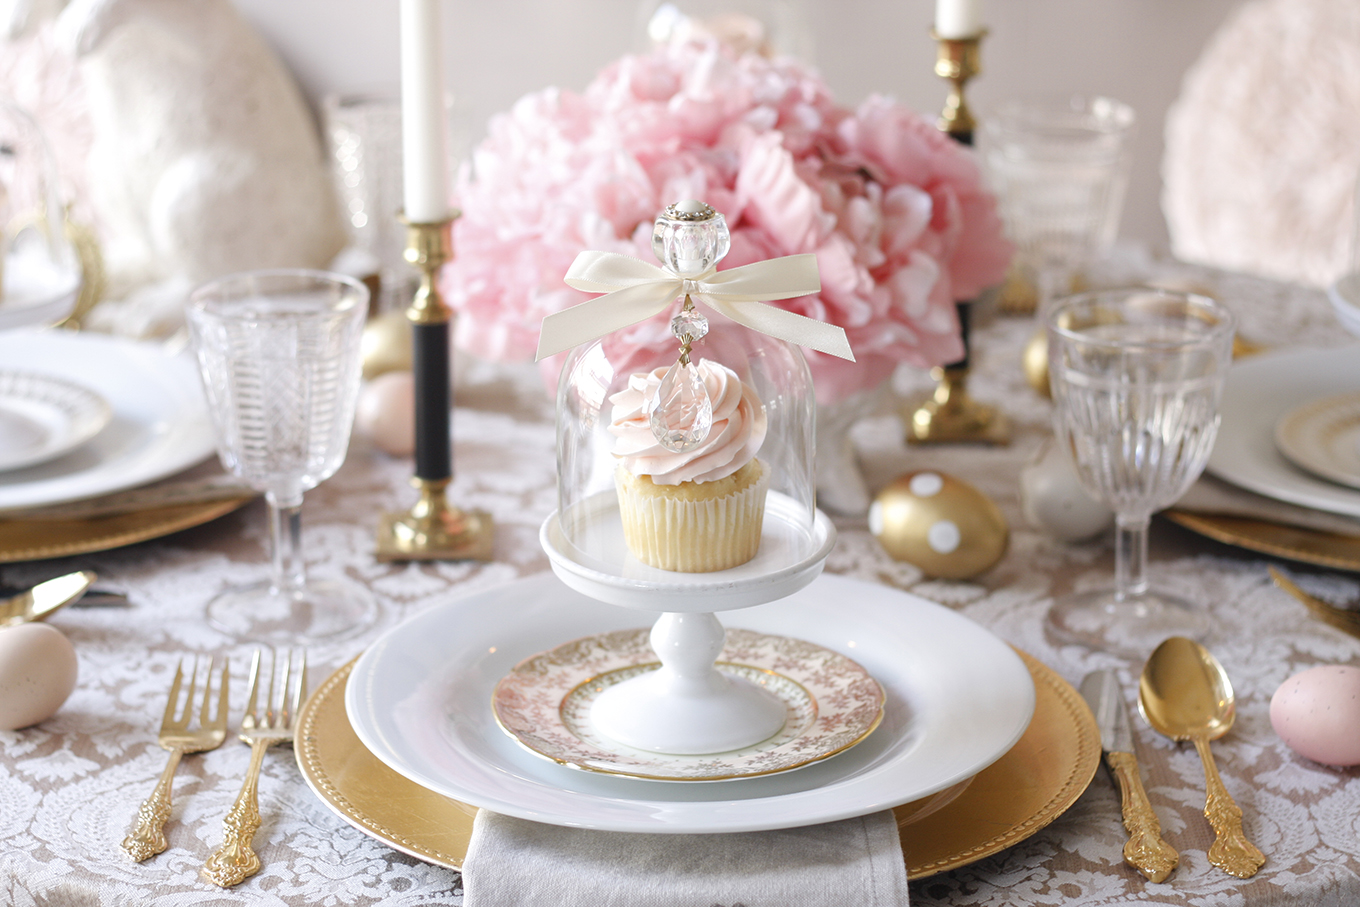
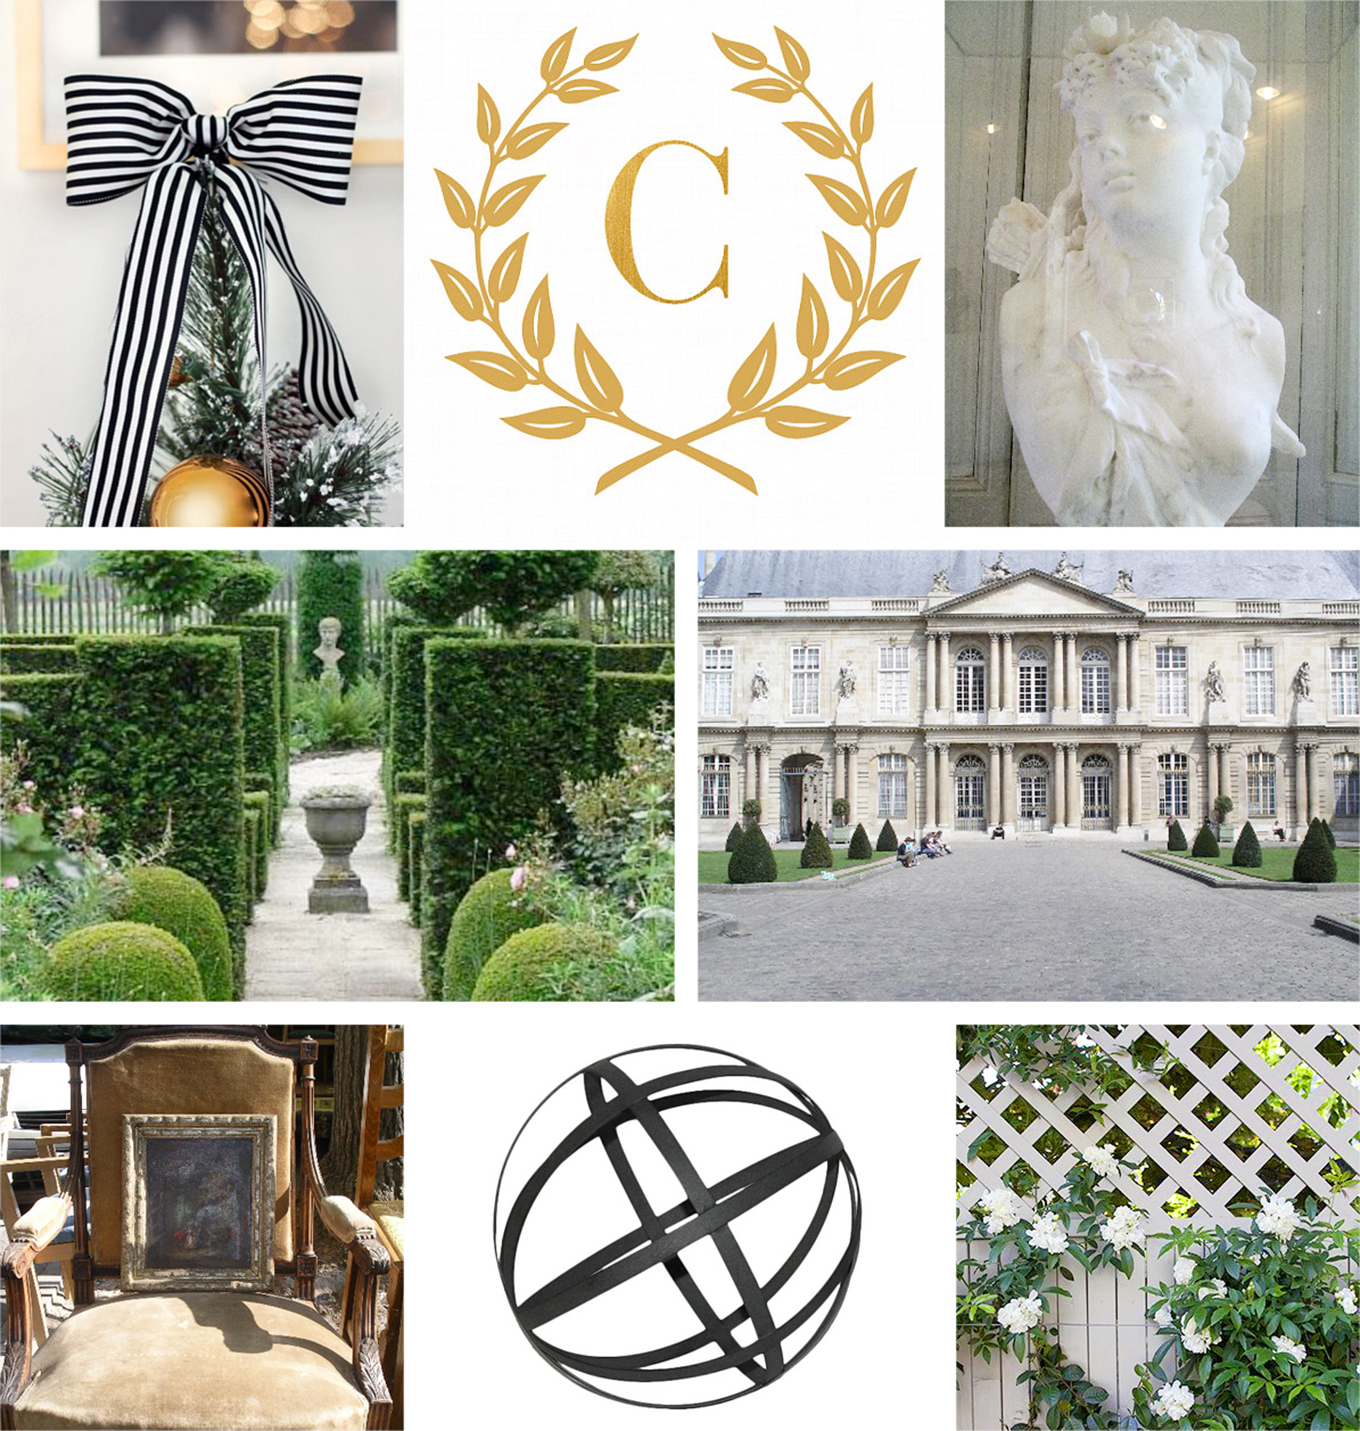 Pulling together decorative props that I already had in the house, I was able to create the look and feel of a French garden through my tablescape below. You may recognize a few things like the brass candlesticks, gold chargers, flatware and glassware from the Easter tablescape I created a few months ago. Its all about using the things you already love and have in your home, but by just adding a few different elements, like the black metal orb and lady bust (I love her!) it makes things fresh and tells a whole new story.
The only thing missing is that I wished to have used a table runner. I have been looking for the perfect one for quite some time now with no luck. But sometimes finding those things you love for your home take time. Just like everything else in life, you just need to have patience and faith that one day, the table runner of my dreams will find me.
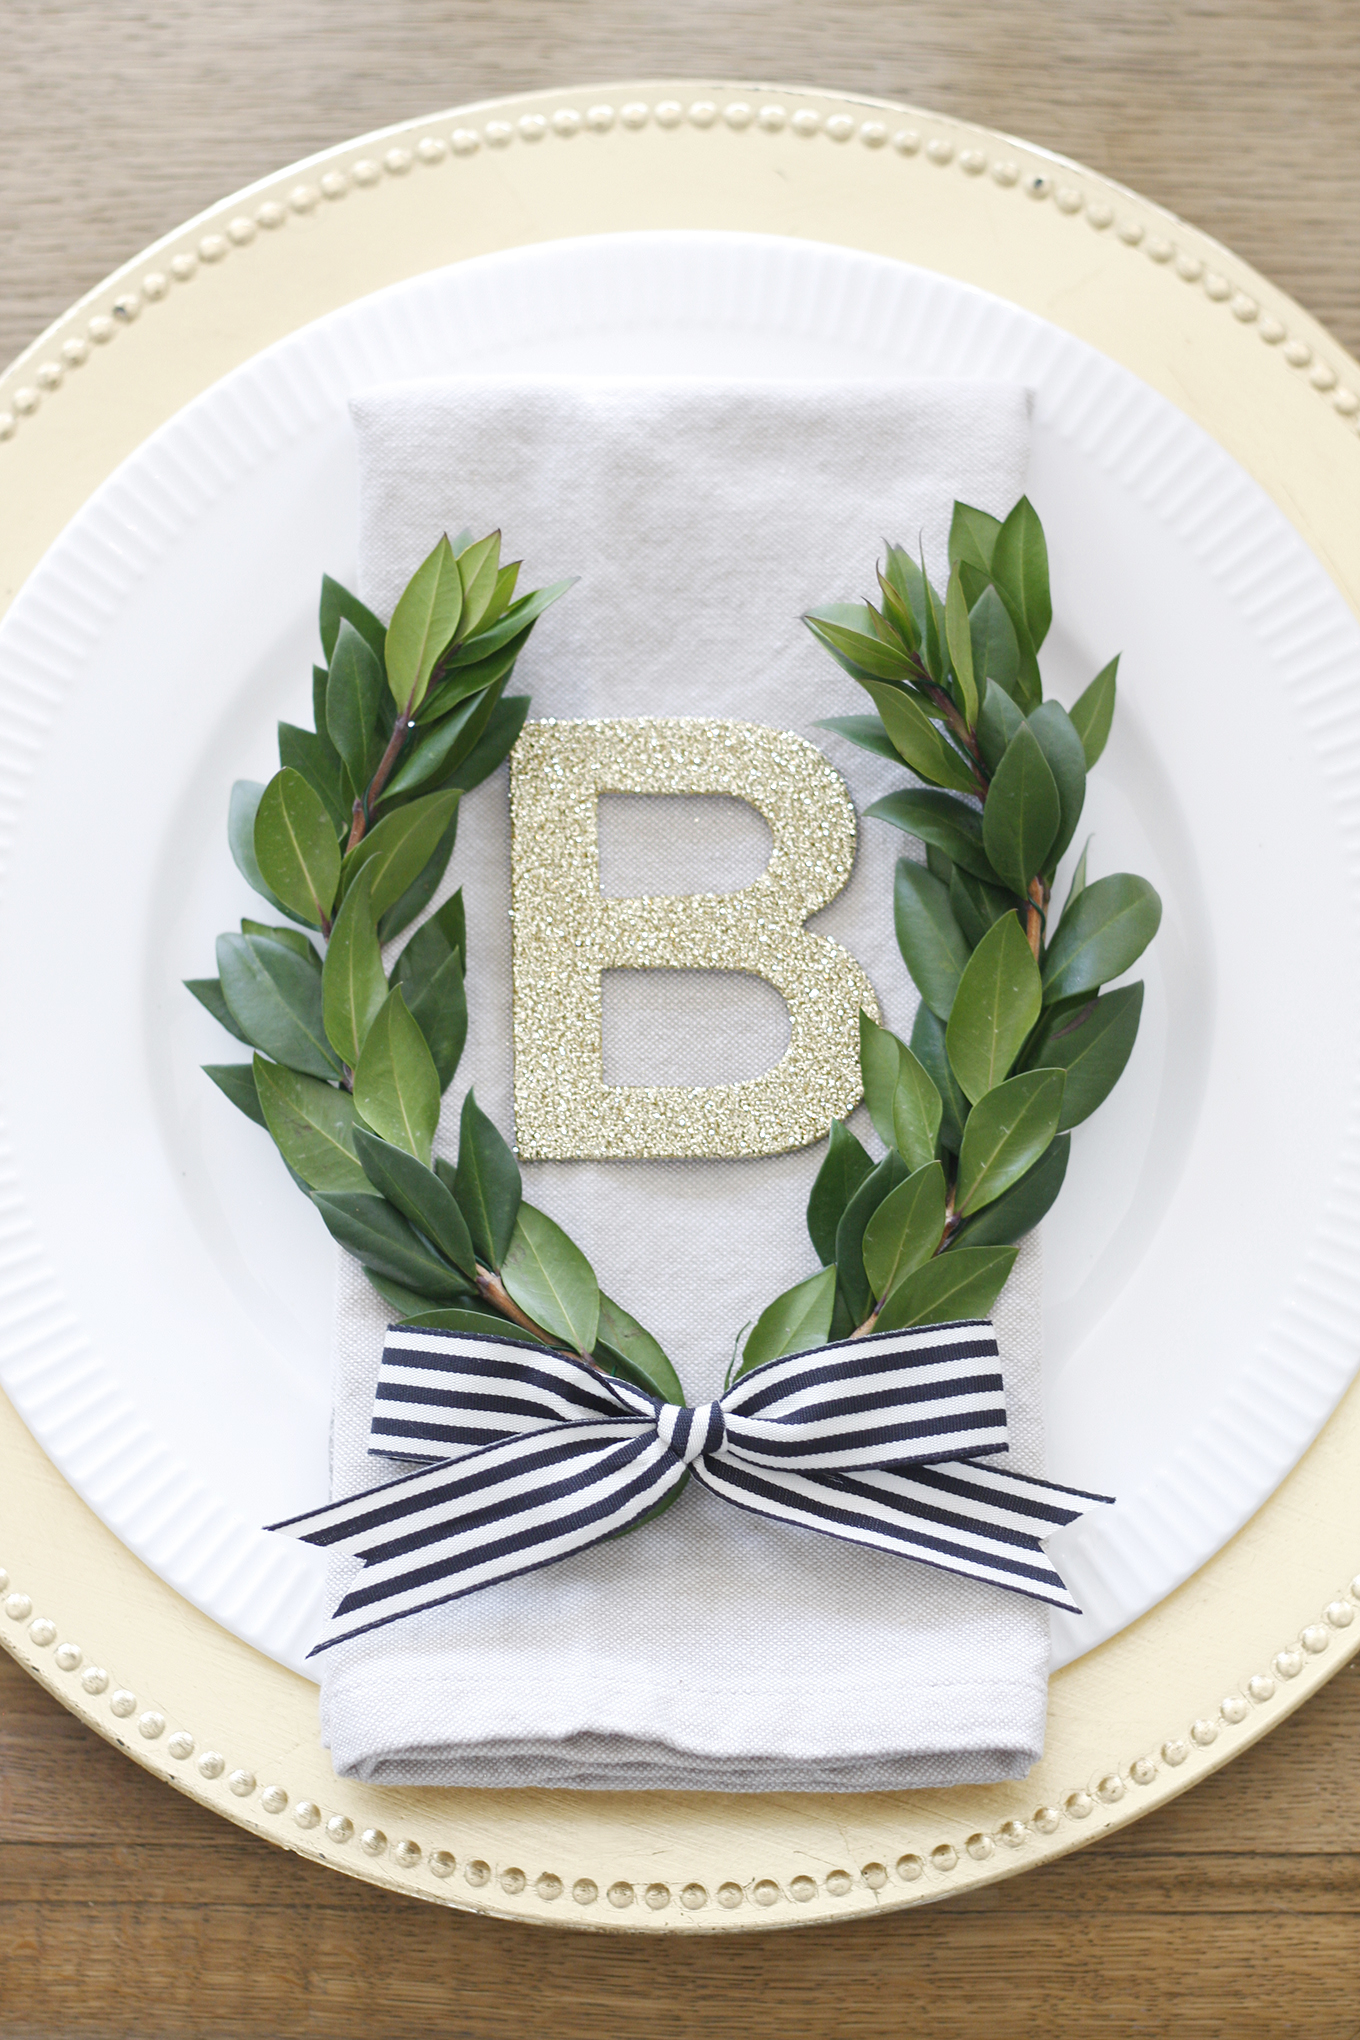
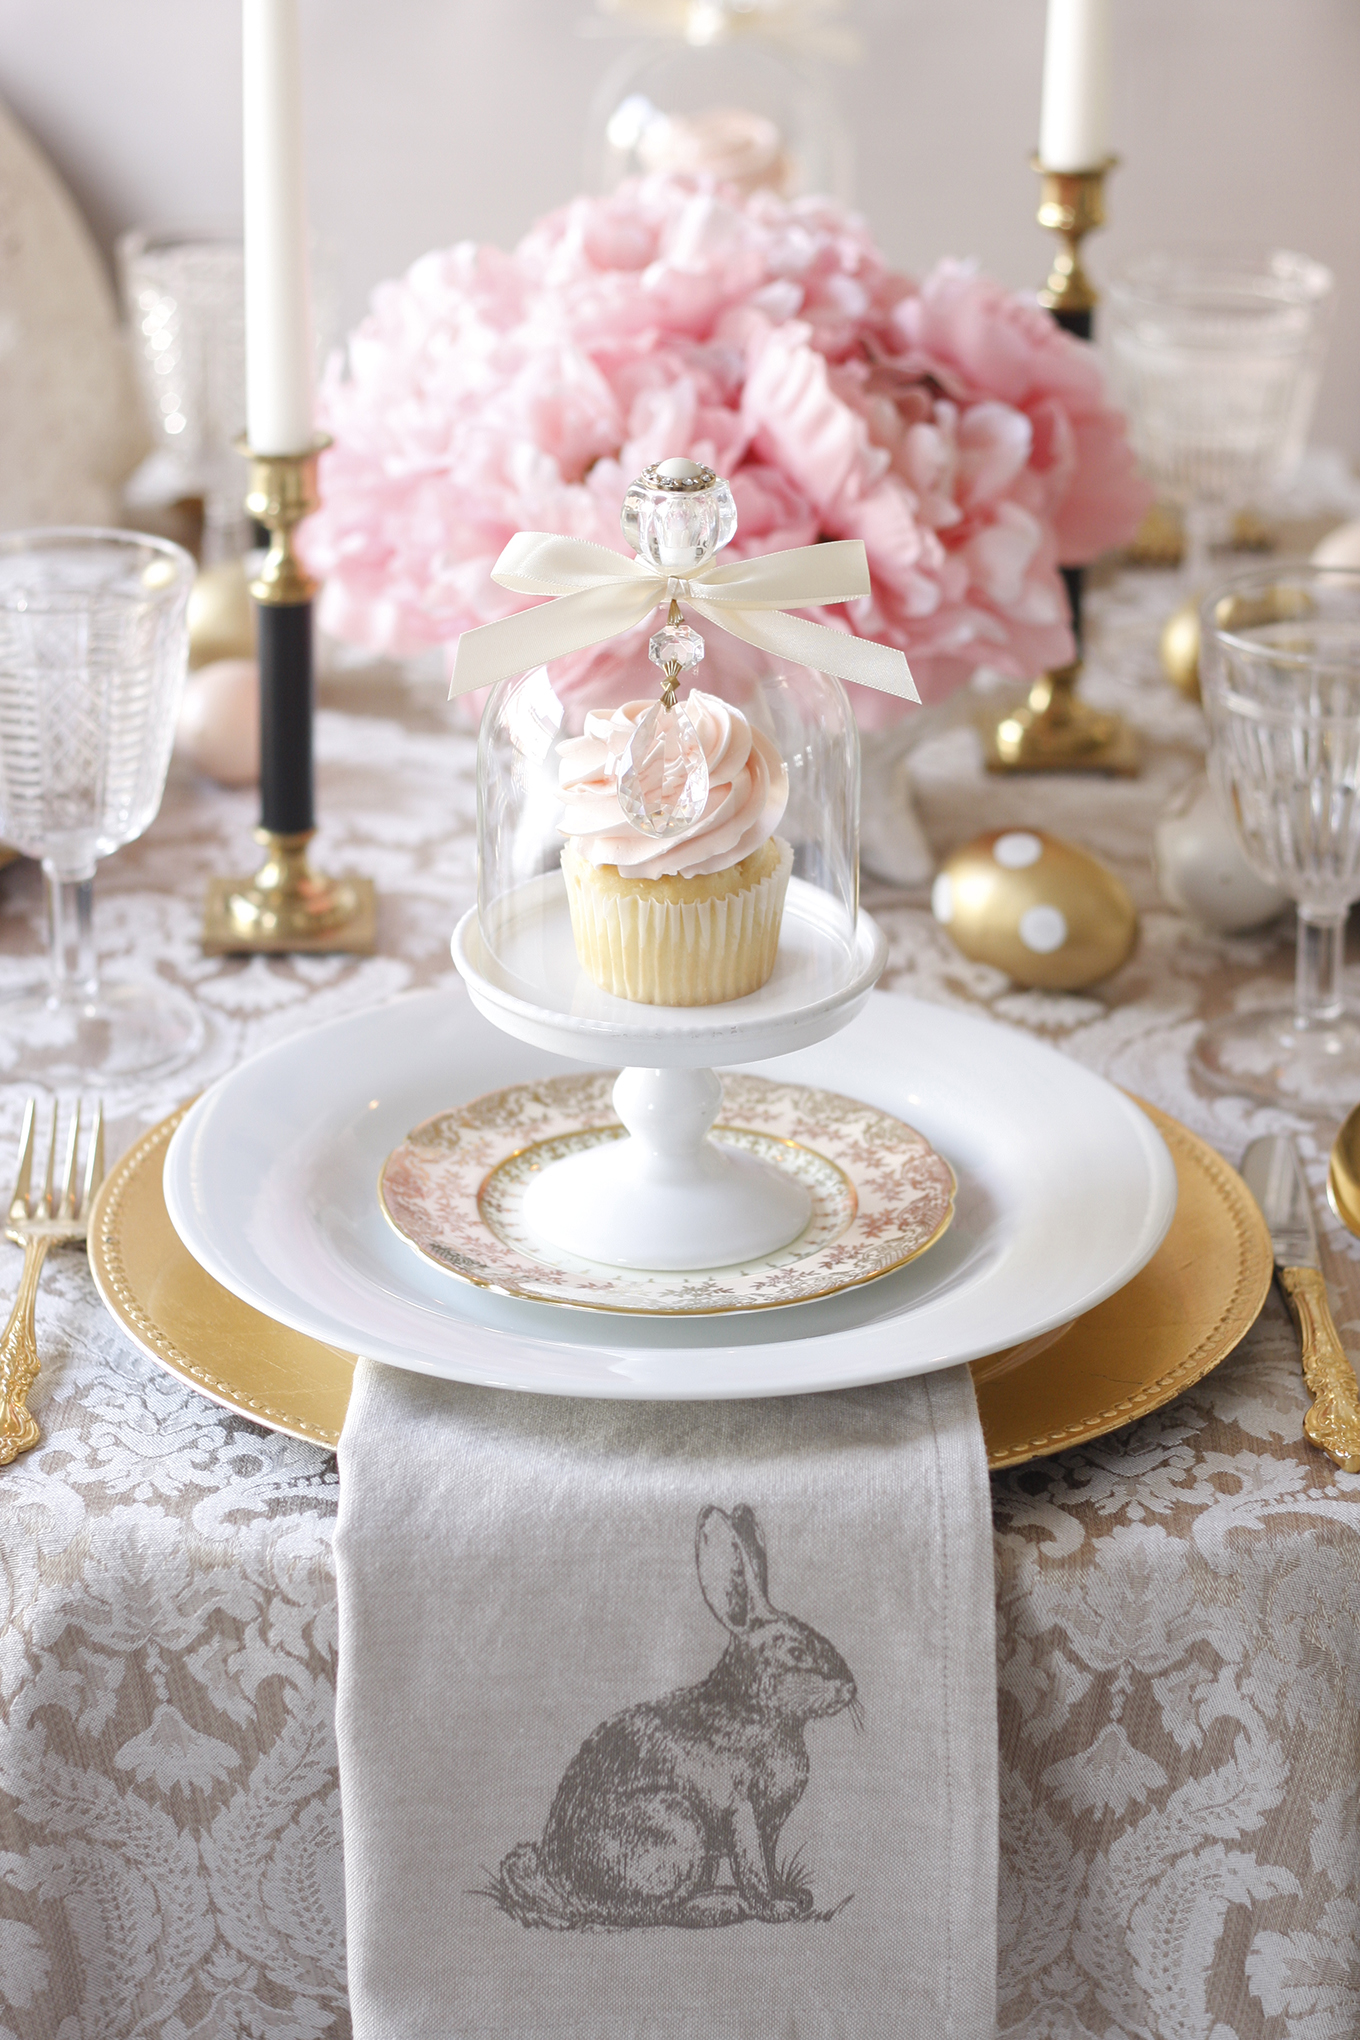
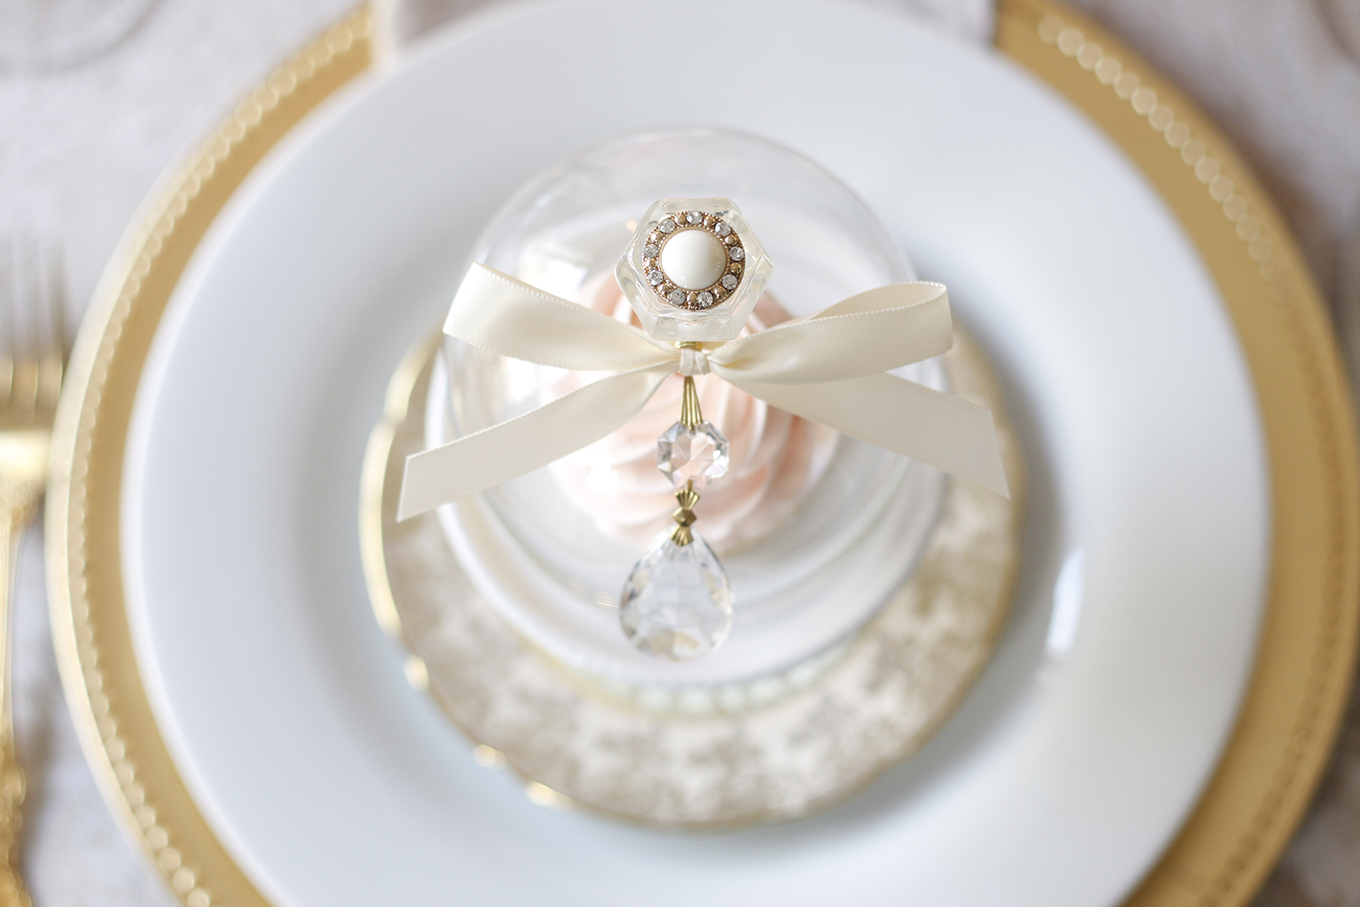
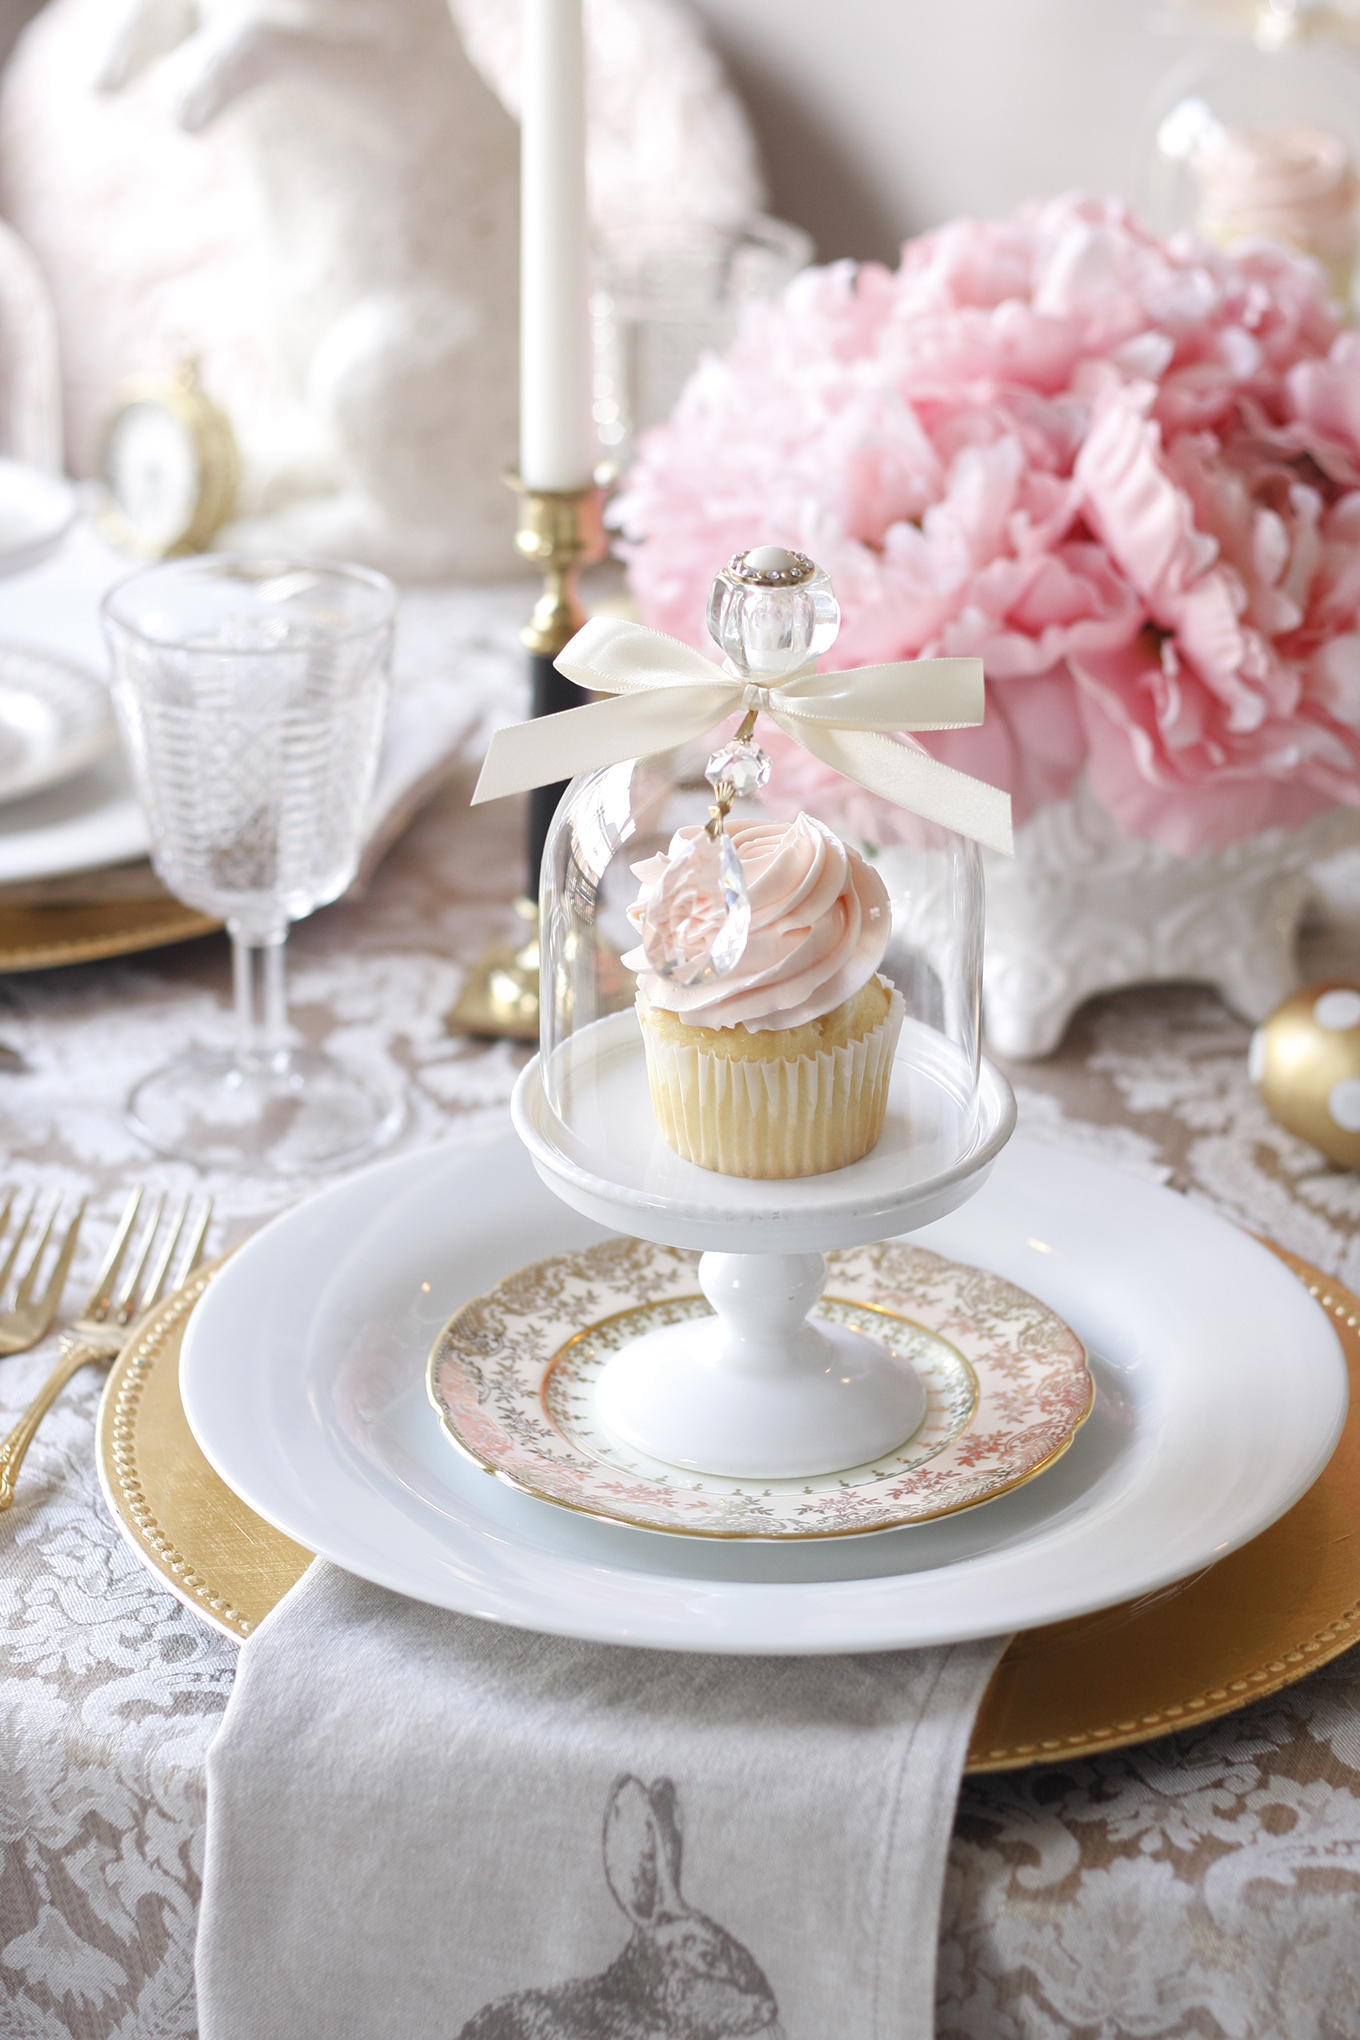
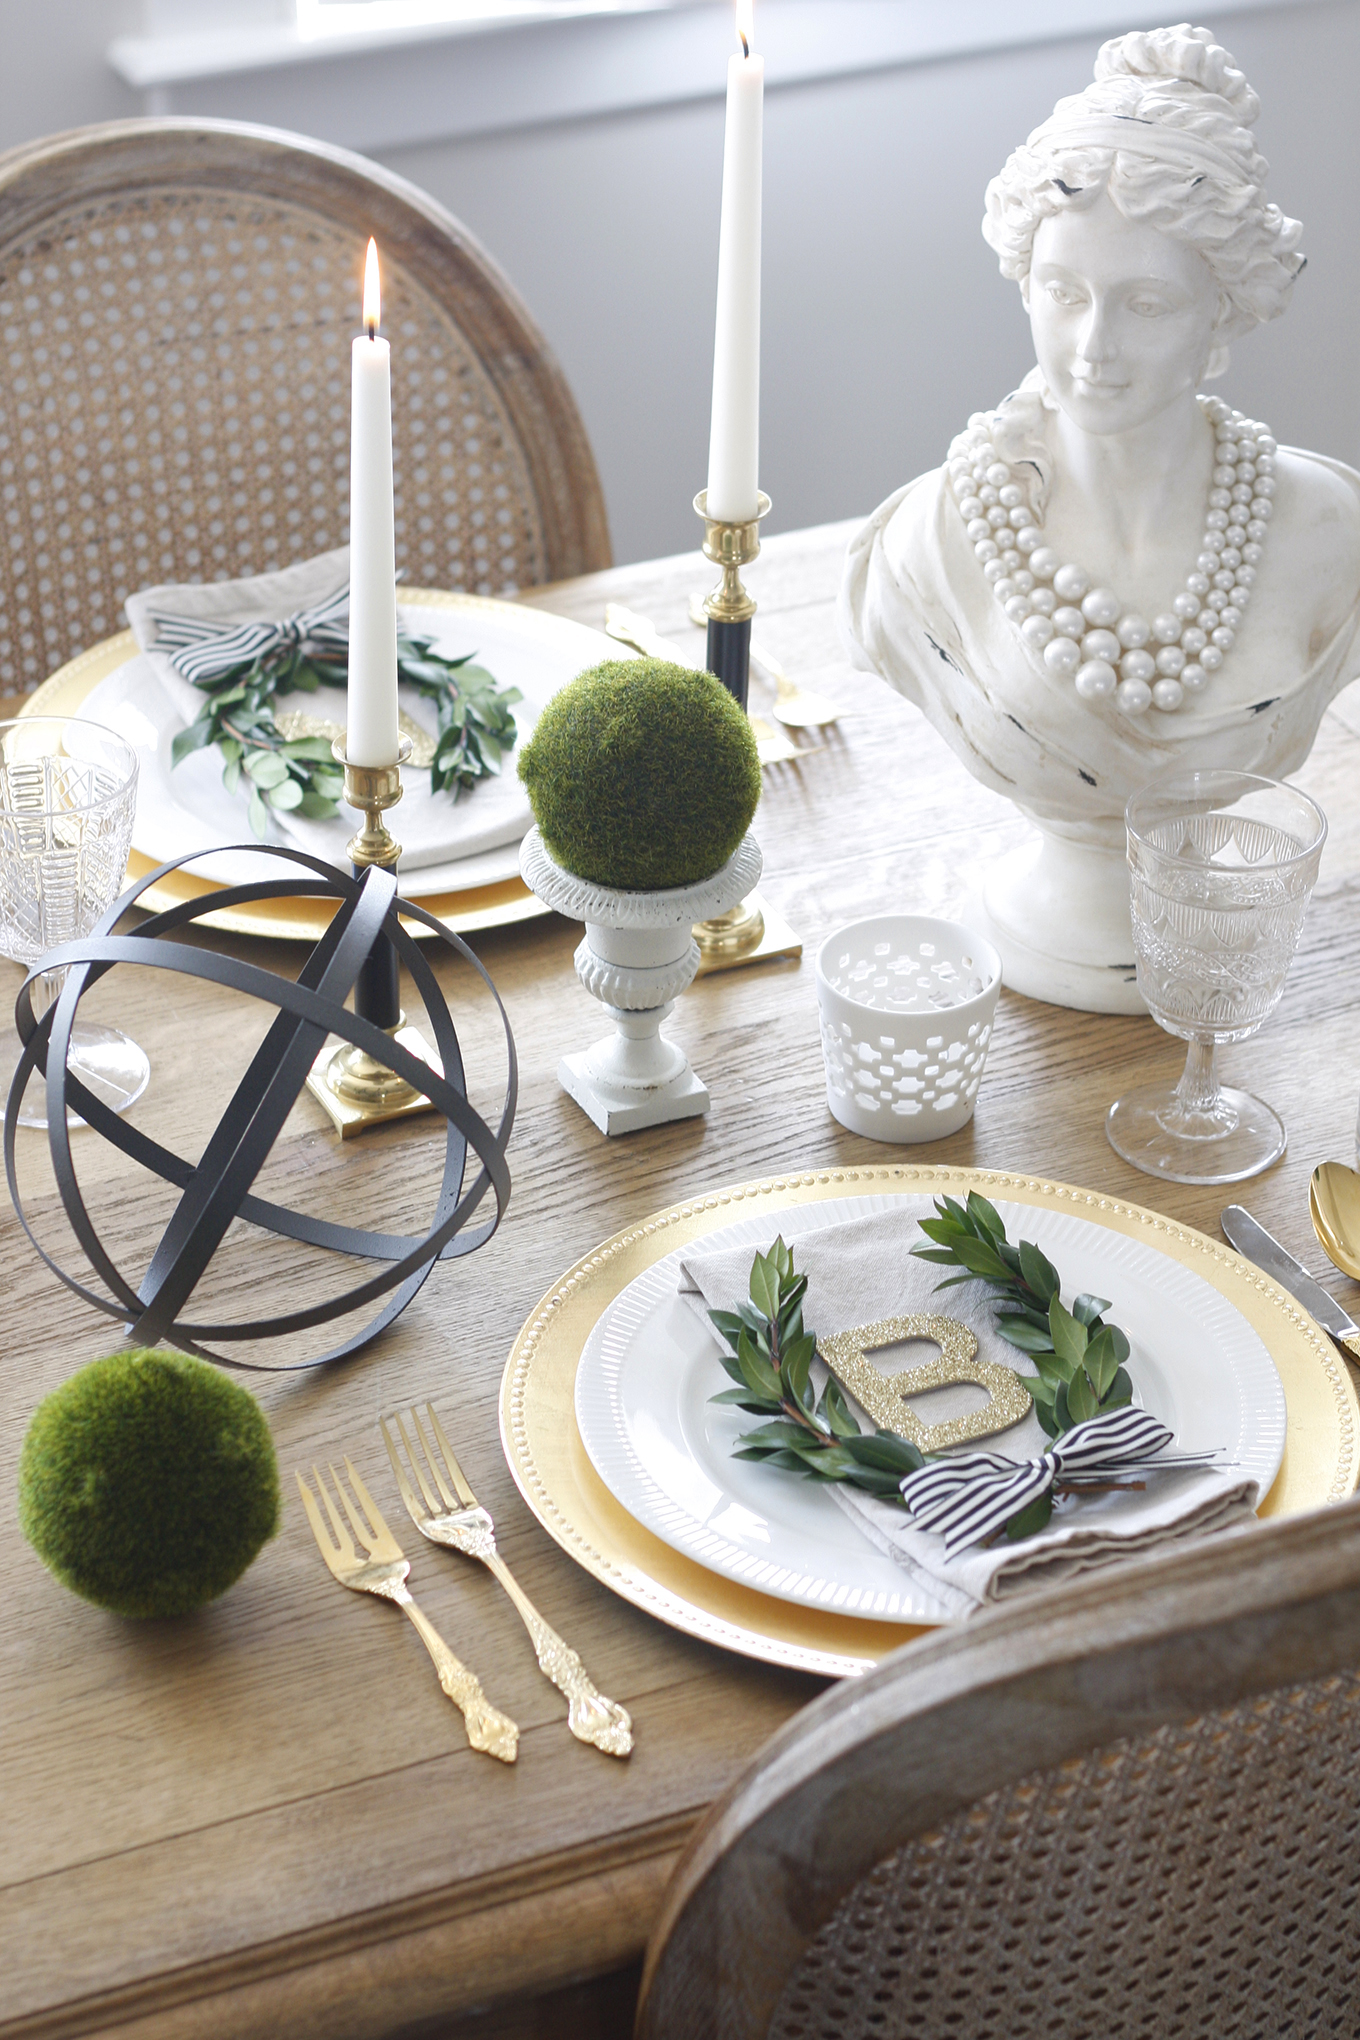 For the French inspired garden tablescape, I really wanted to create something special for each of my friends/guests. For each dinner place setting, it features the initial letter of each guest’s name, surrounded by laurel leaves and topped with a modern black and white striped bow. It looks so classy and elegant, and best of all, it was easy and super simple to create. Also, by using greenery it was very economical and a great alternative to flowers, which yes are beautiful, but can be very expensive. And since the greenery will be out of water, its freshness with last up to only about 1 – 2 days.
 Materials & Tools
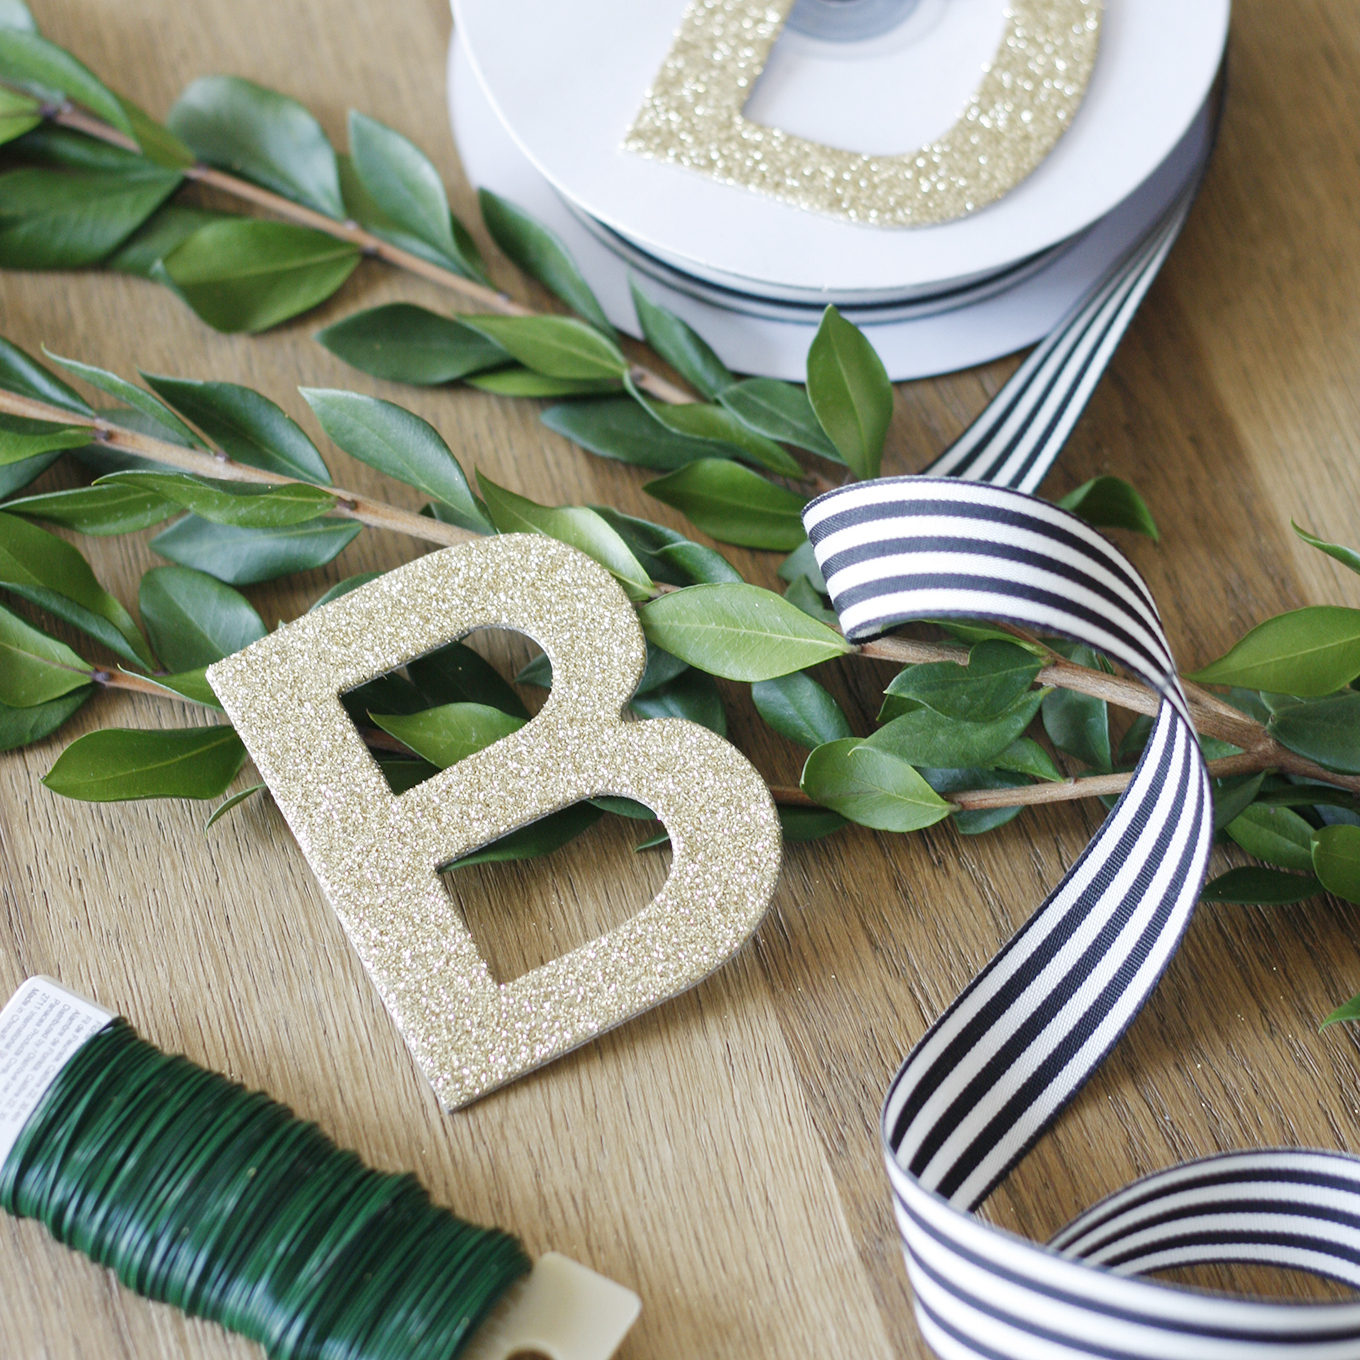
• 3 inch gold glitter letters (available at Michaels)
• 7/8″ black and white striped ribbon
• 24 gauge floral wire
• Sprigs of greenery
• Scissors
 The following instructions are for one individual laurel wreath place setting.
Step 1
Cut two sprigs of greenery approximately 8″ long each. Unwind a strand of floral wire, measure and cut approximately 10″ of wire. Starting at the bottom of the sprig, wind the wire gently around the stem and continue working all the way up. Cut the wire and hide the end behind the leaves.
Step 2
Gently curve each sprig in a horseshoe shape. At this point, you may use another small piece of wire to join the sprigs at the point where they intersect.
Step 3
Next, time to make the bow. It can be a tricky thing to explain, yet alone master, so here are instructions via Martha Stewart. To be honest, my original plan was to tie the bow directly with the greenery, but after a few unsuccessful tries to make the bow look ‘just right’, I decided to ‘cheat’ and just rest the bow on top of the laurel wreath.
Step 4
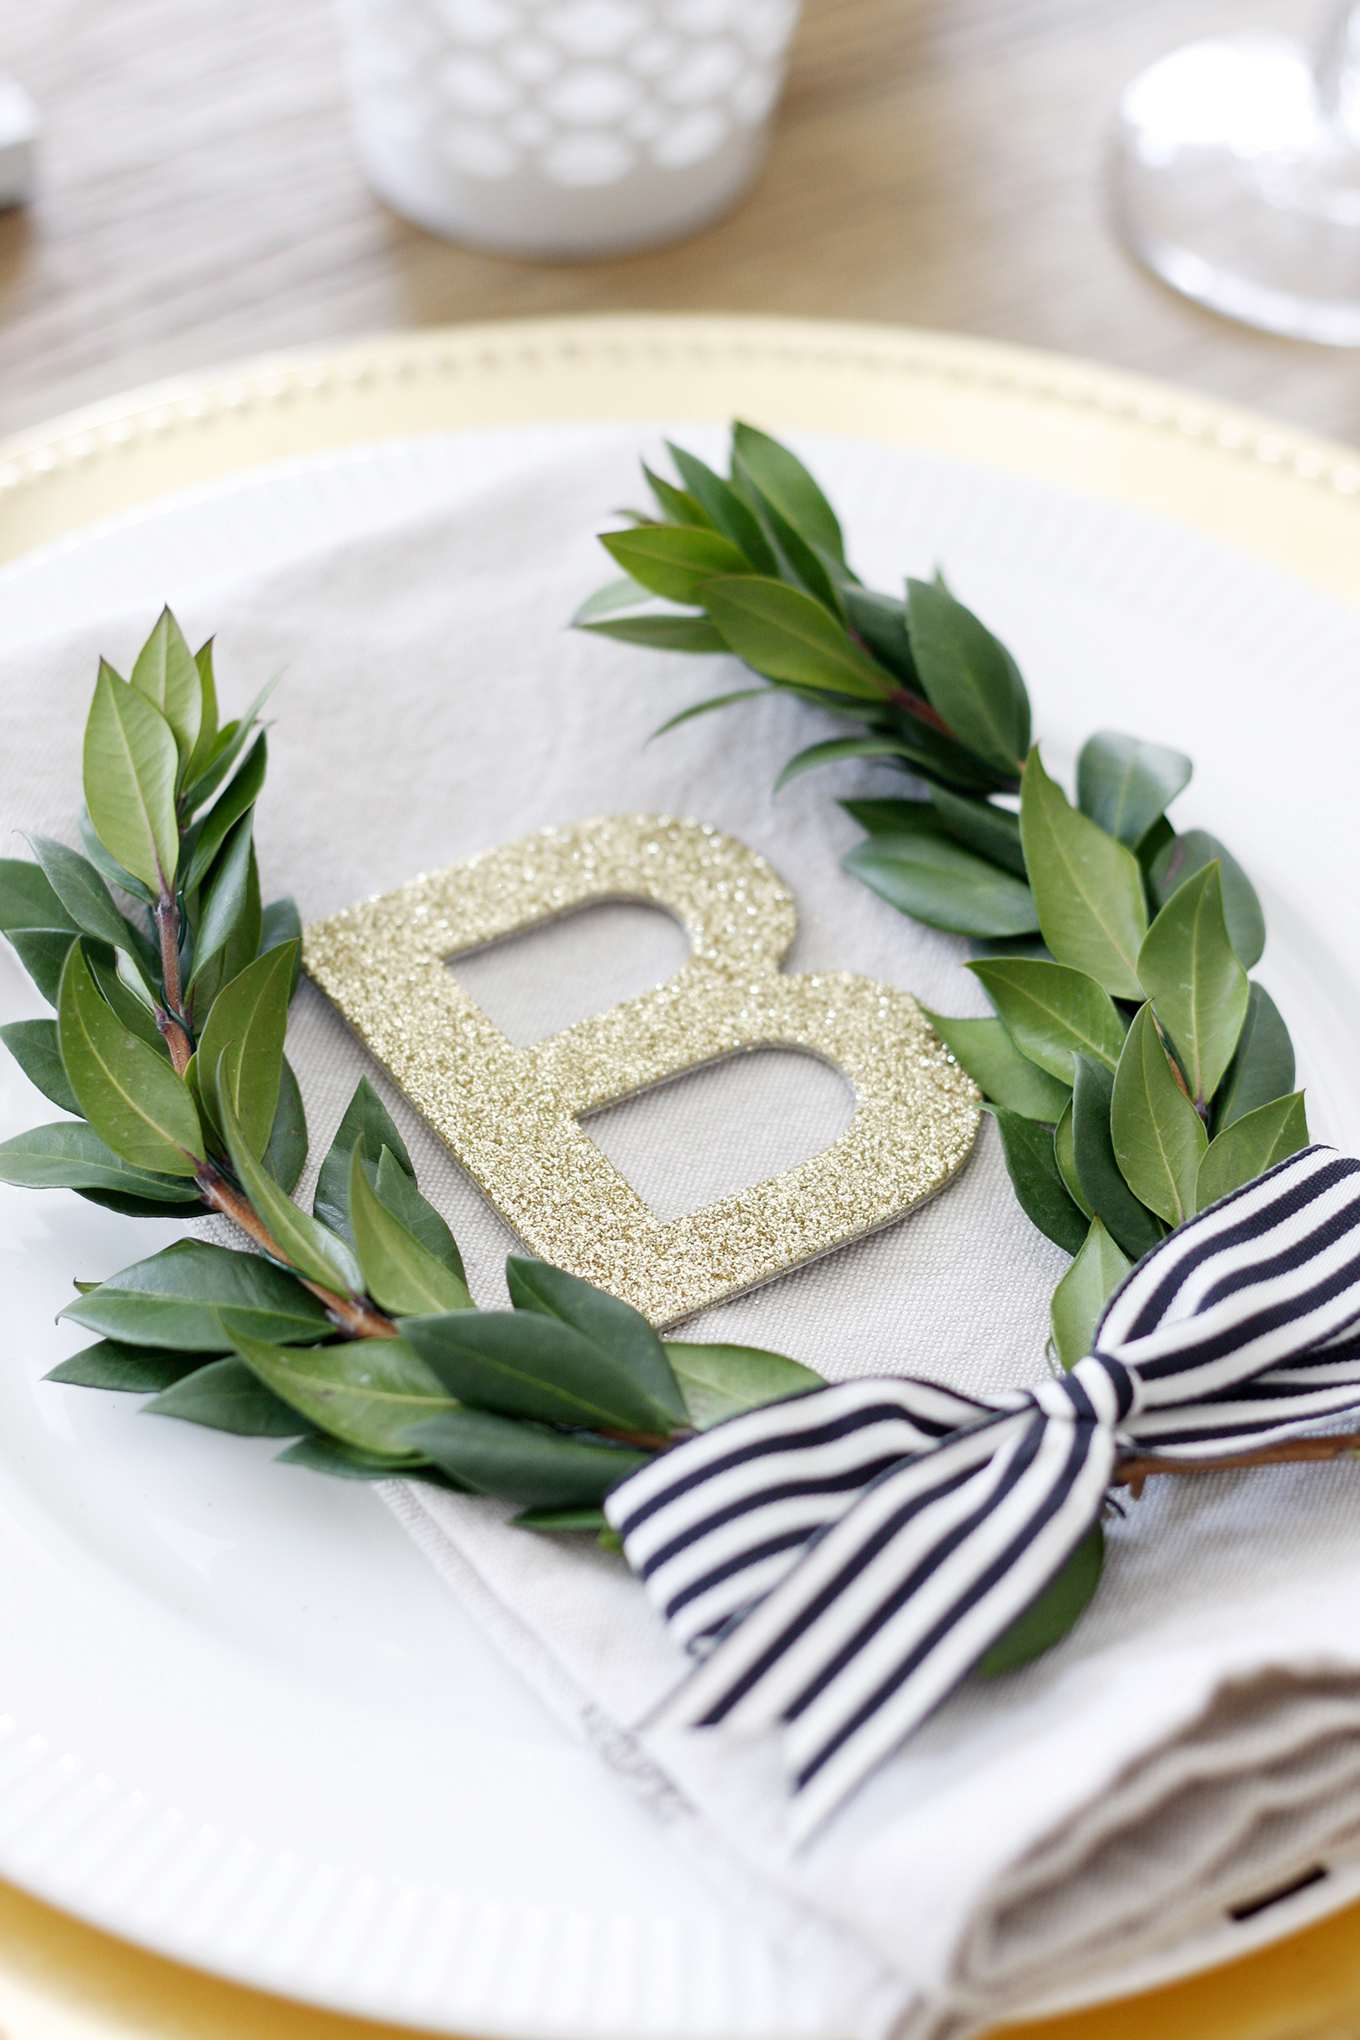
In the example shown, I selected the letter ‘B’ for my friend Barb. Fold the linen napkin, lay the gold letter in the middle, assemble the laurel wreath around it and lay the striped ribbon on top. Voila, it’s done!
 I hope you have enjoyed learning about how to make your own laurel wreath. Please leave a reply in the comments below. I would love to hear from you! And just for fun, I have compiled a few sources of where to find the pieces you need to create your own French inspired garden tablescape.
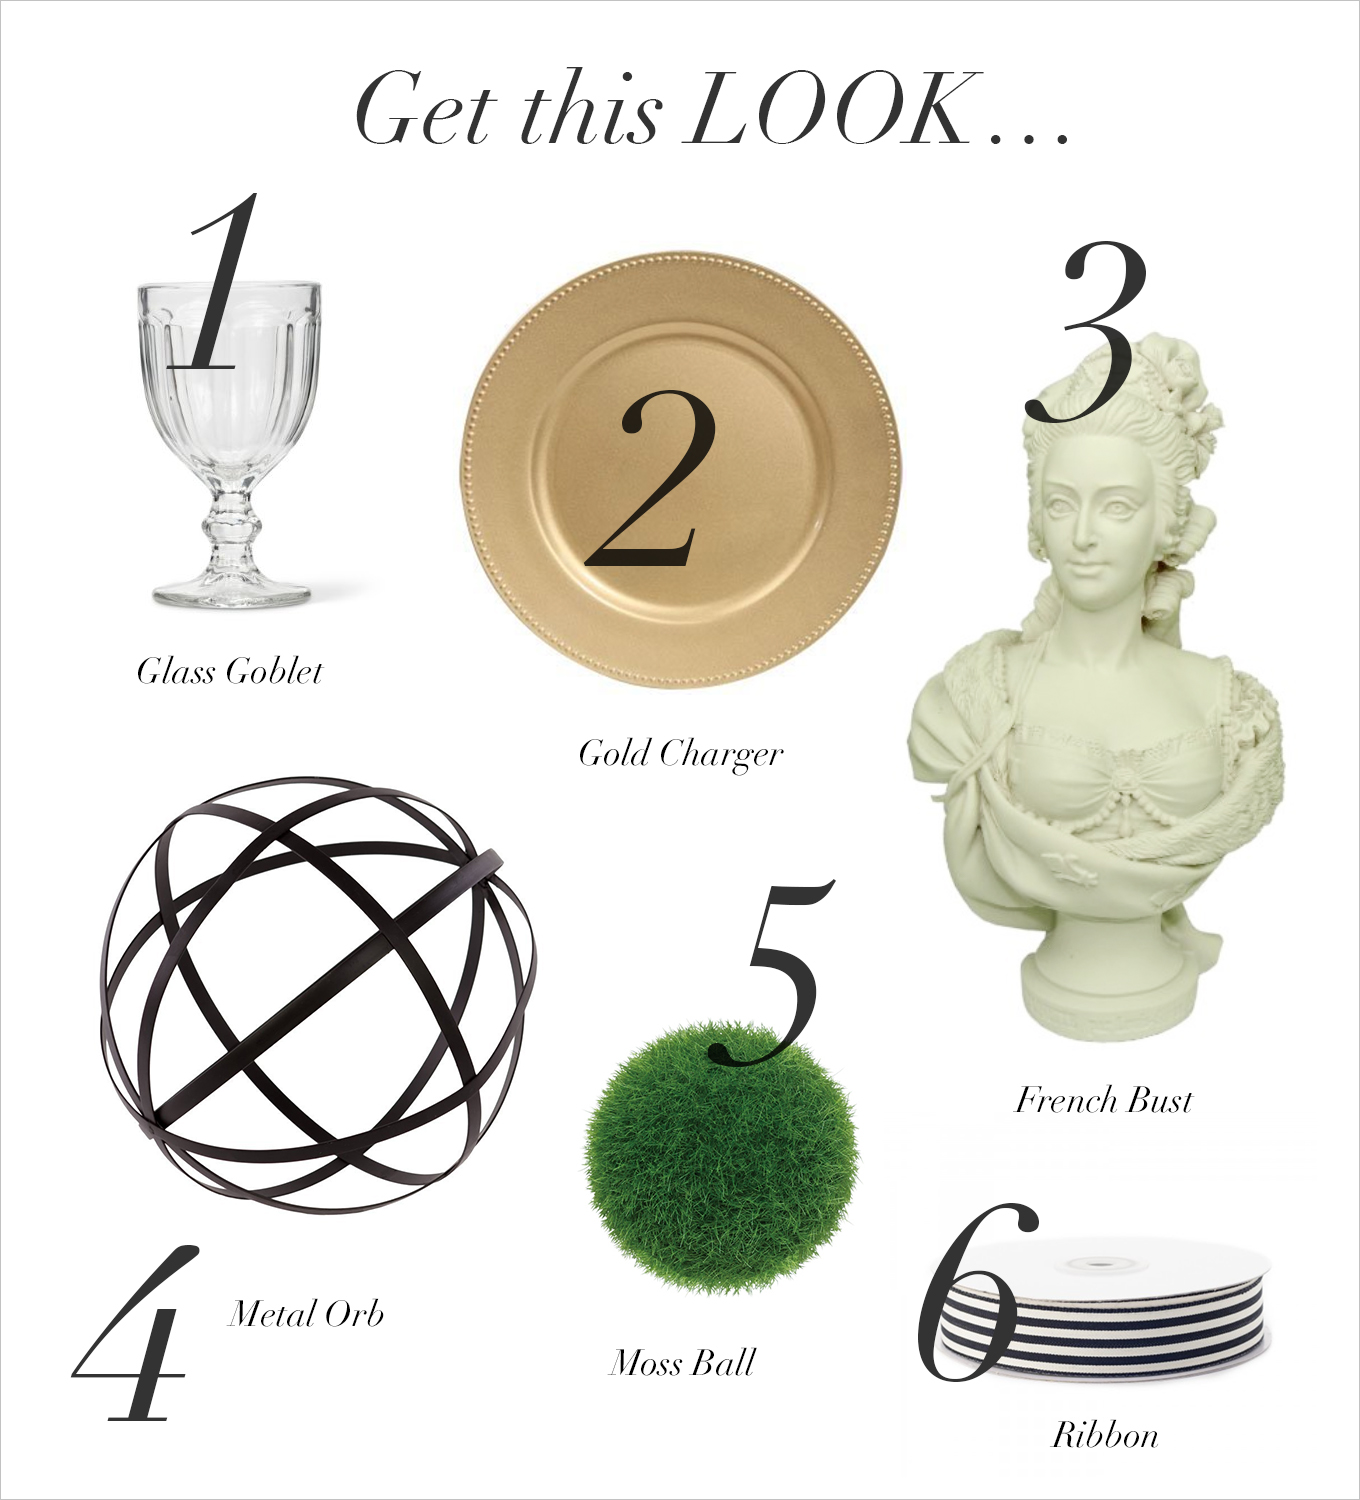 1 Glass Goblets, Amazon.ca, 2 Gold Charger, Amazon.ca, 3 French Bust, Amazon.ca, 4 Metal Orb, Amazon.ca, 5Moss Ball, Amazon.ca, 6 Ribbon, Creative Bag
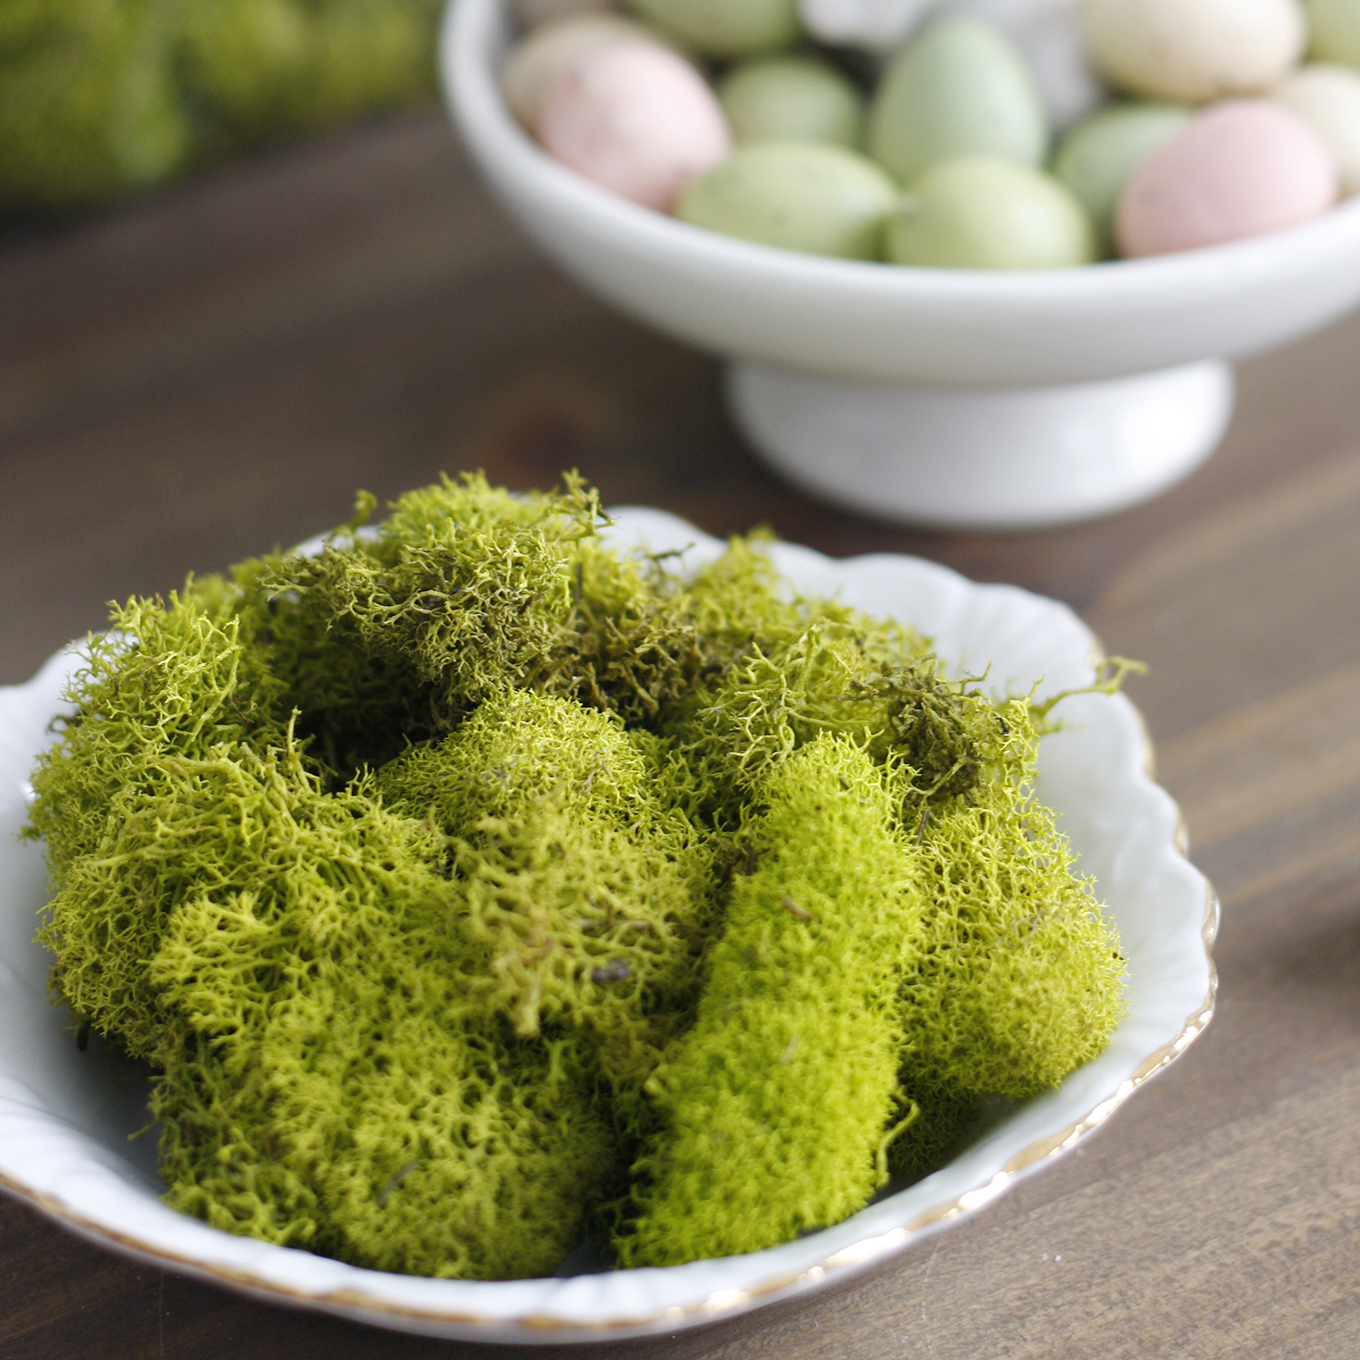
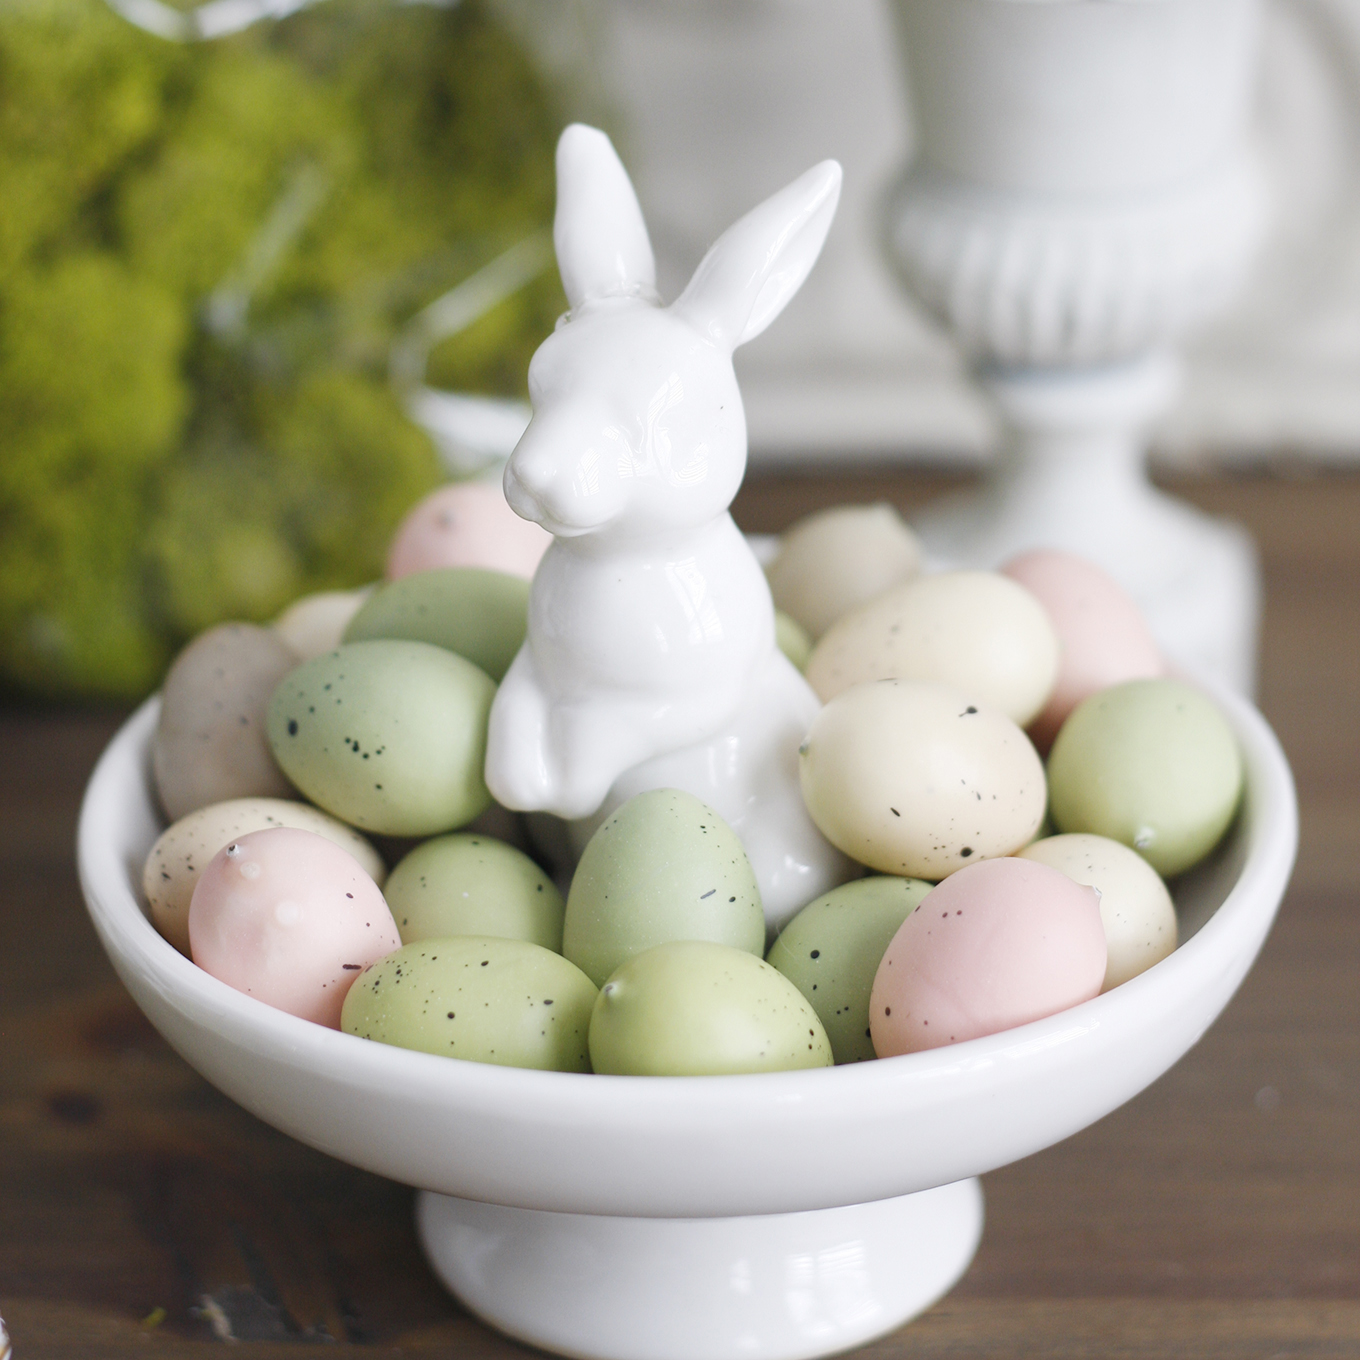
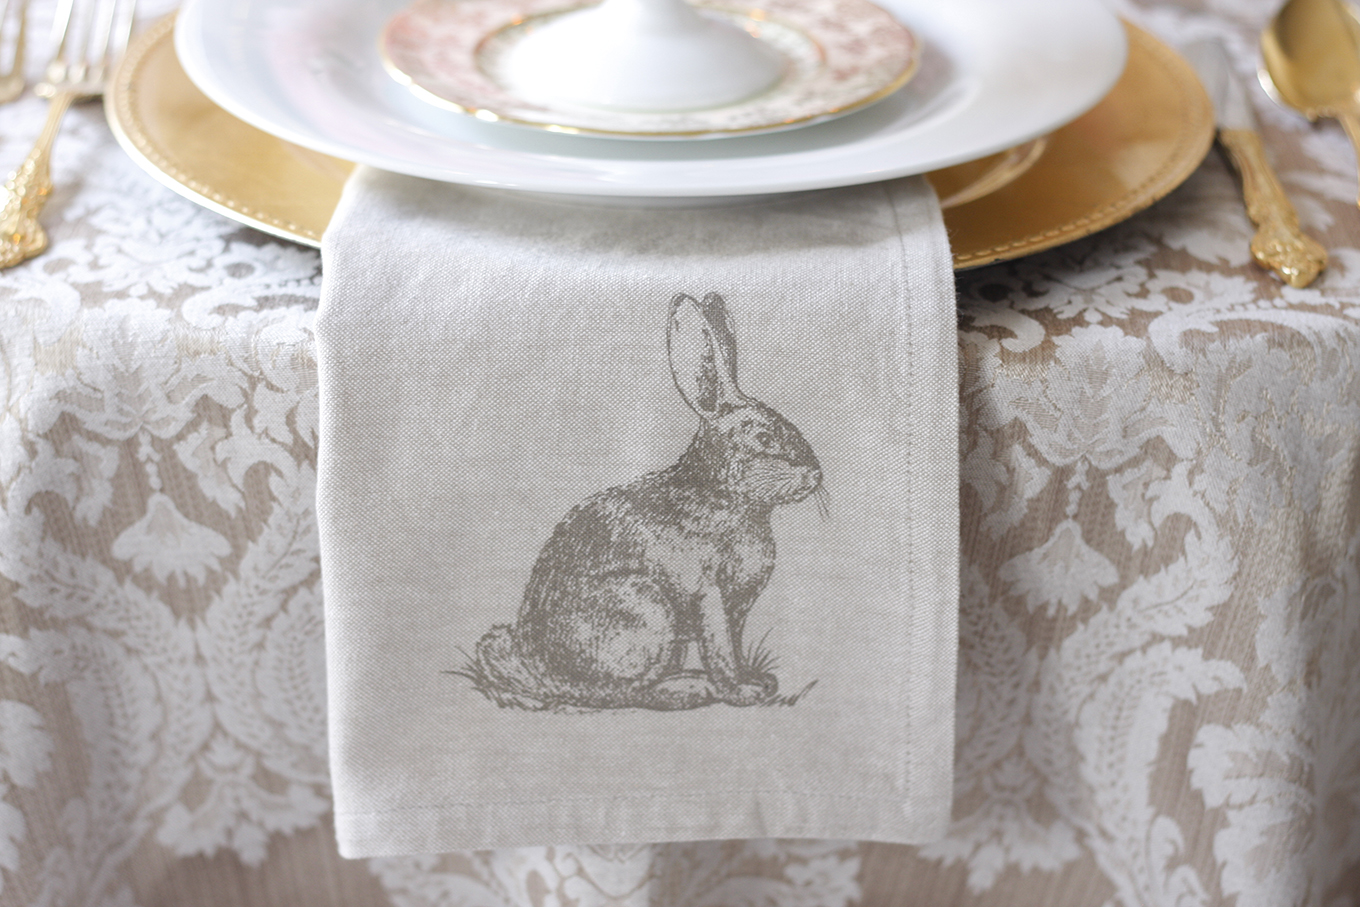
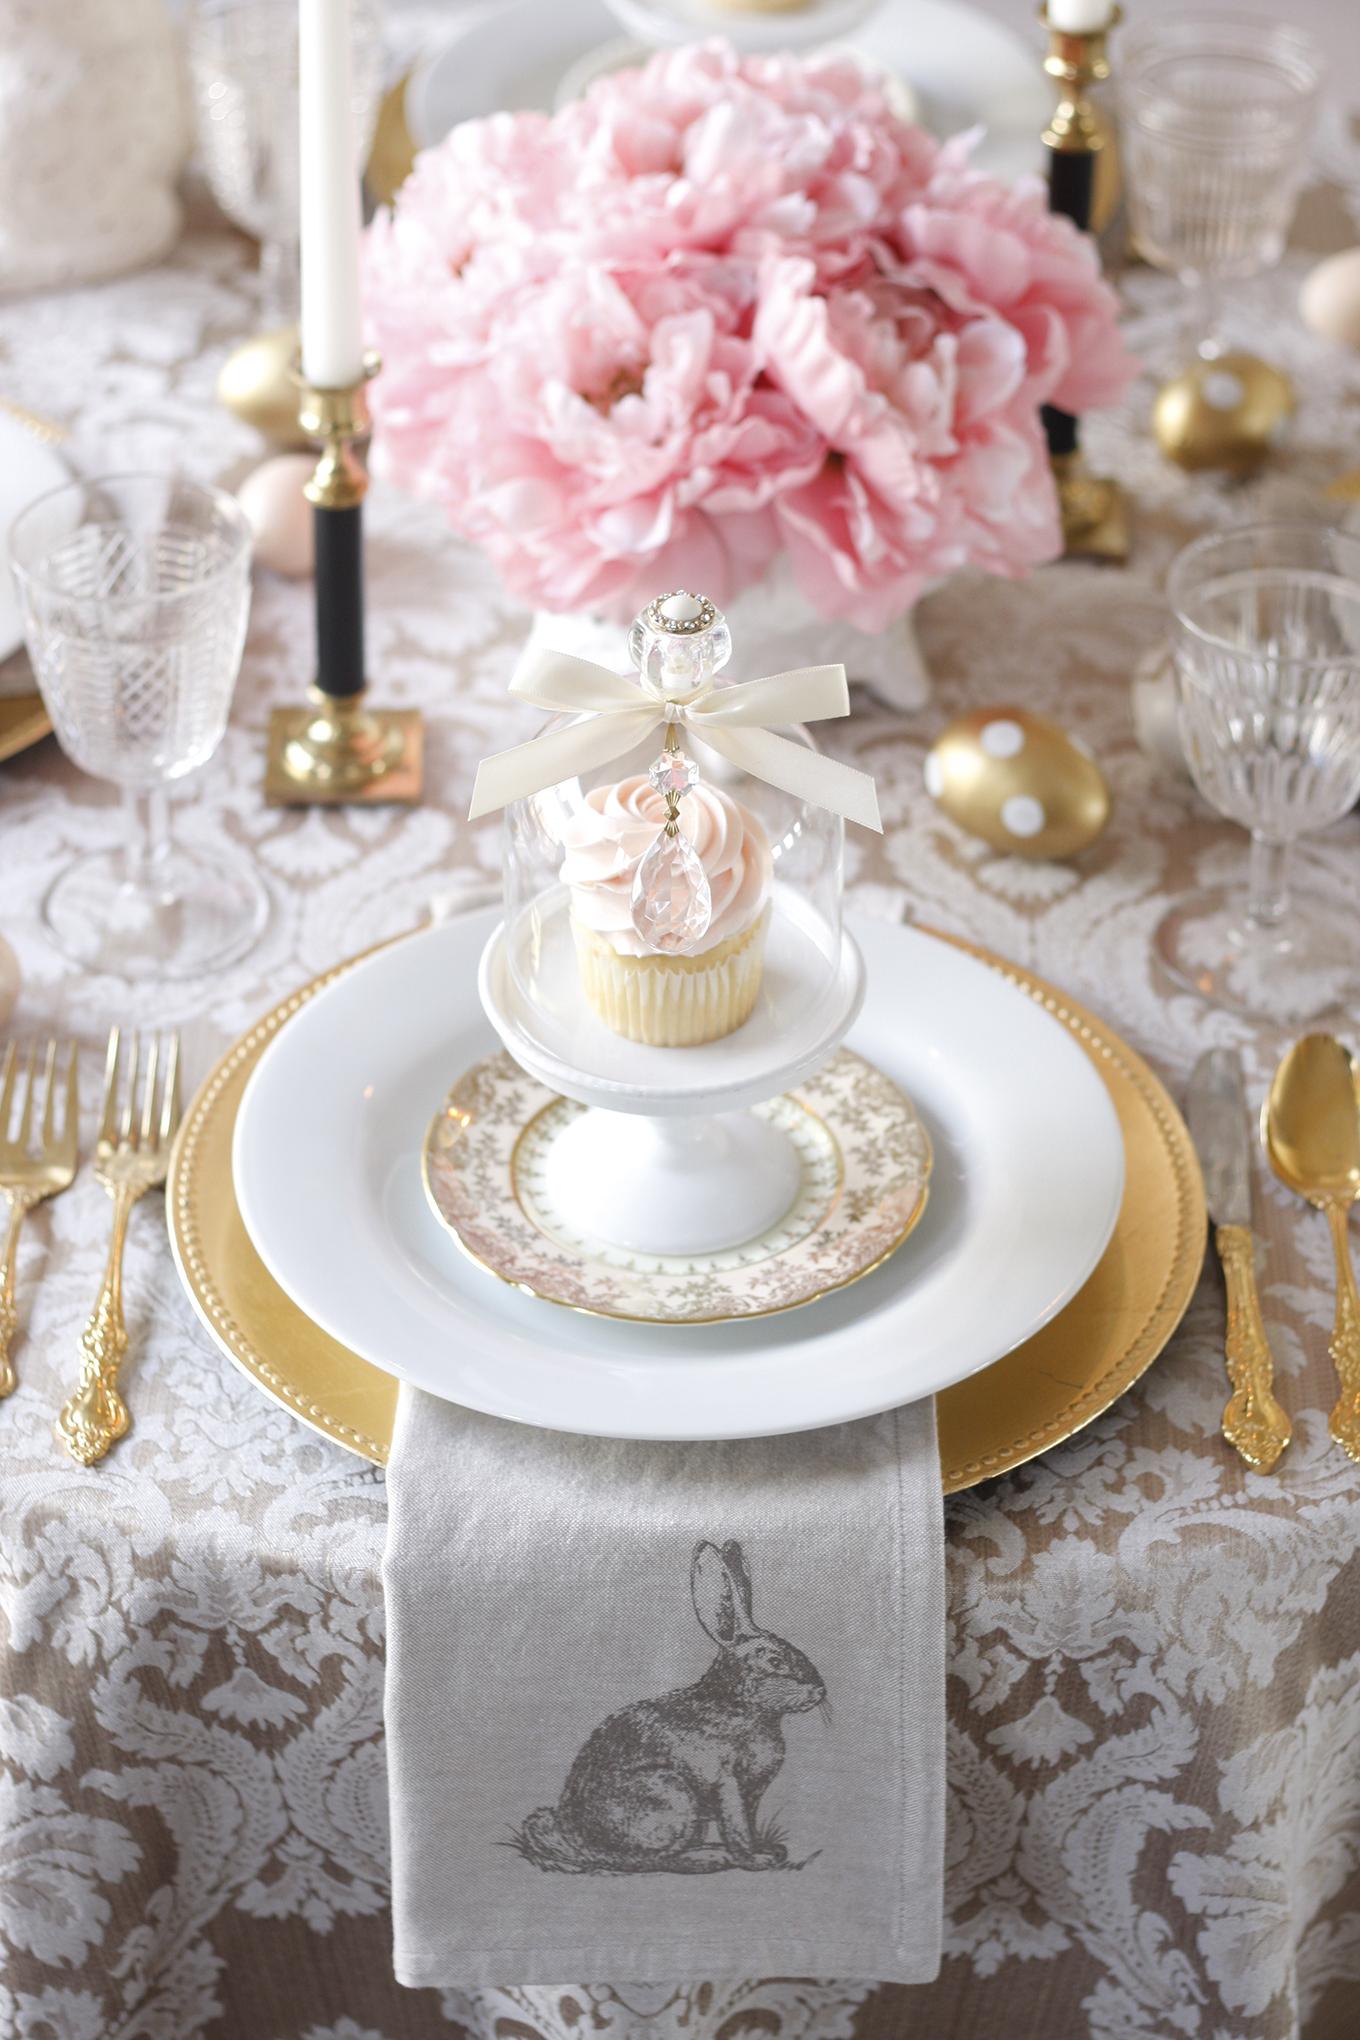
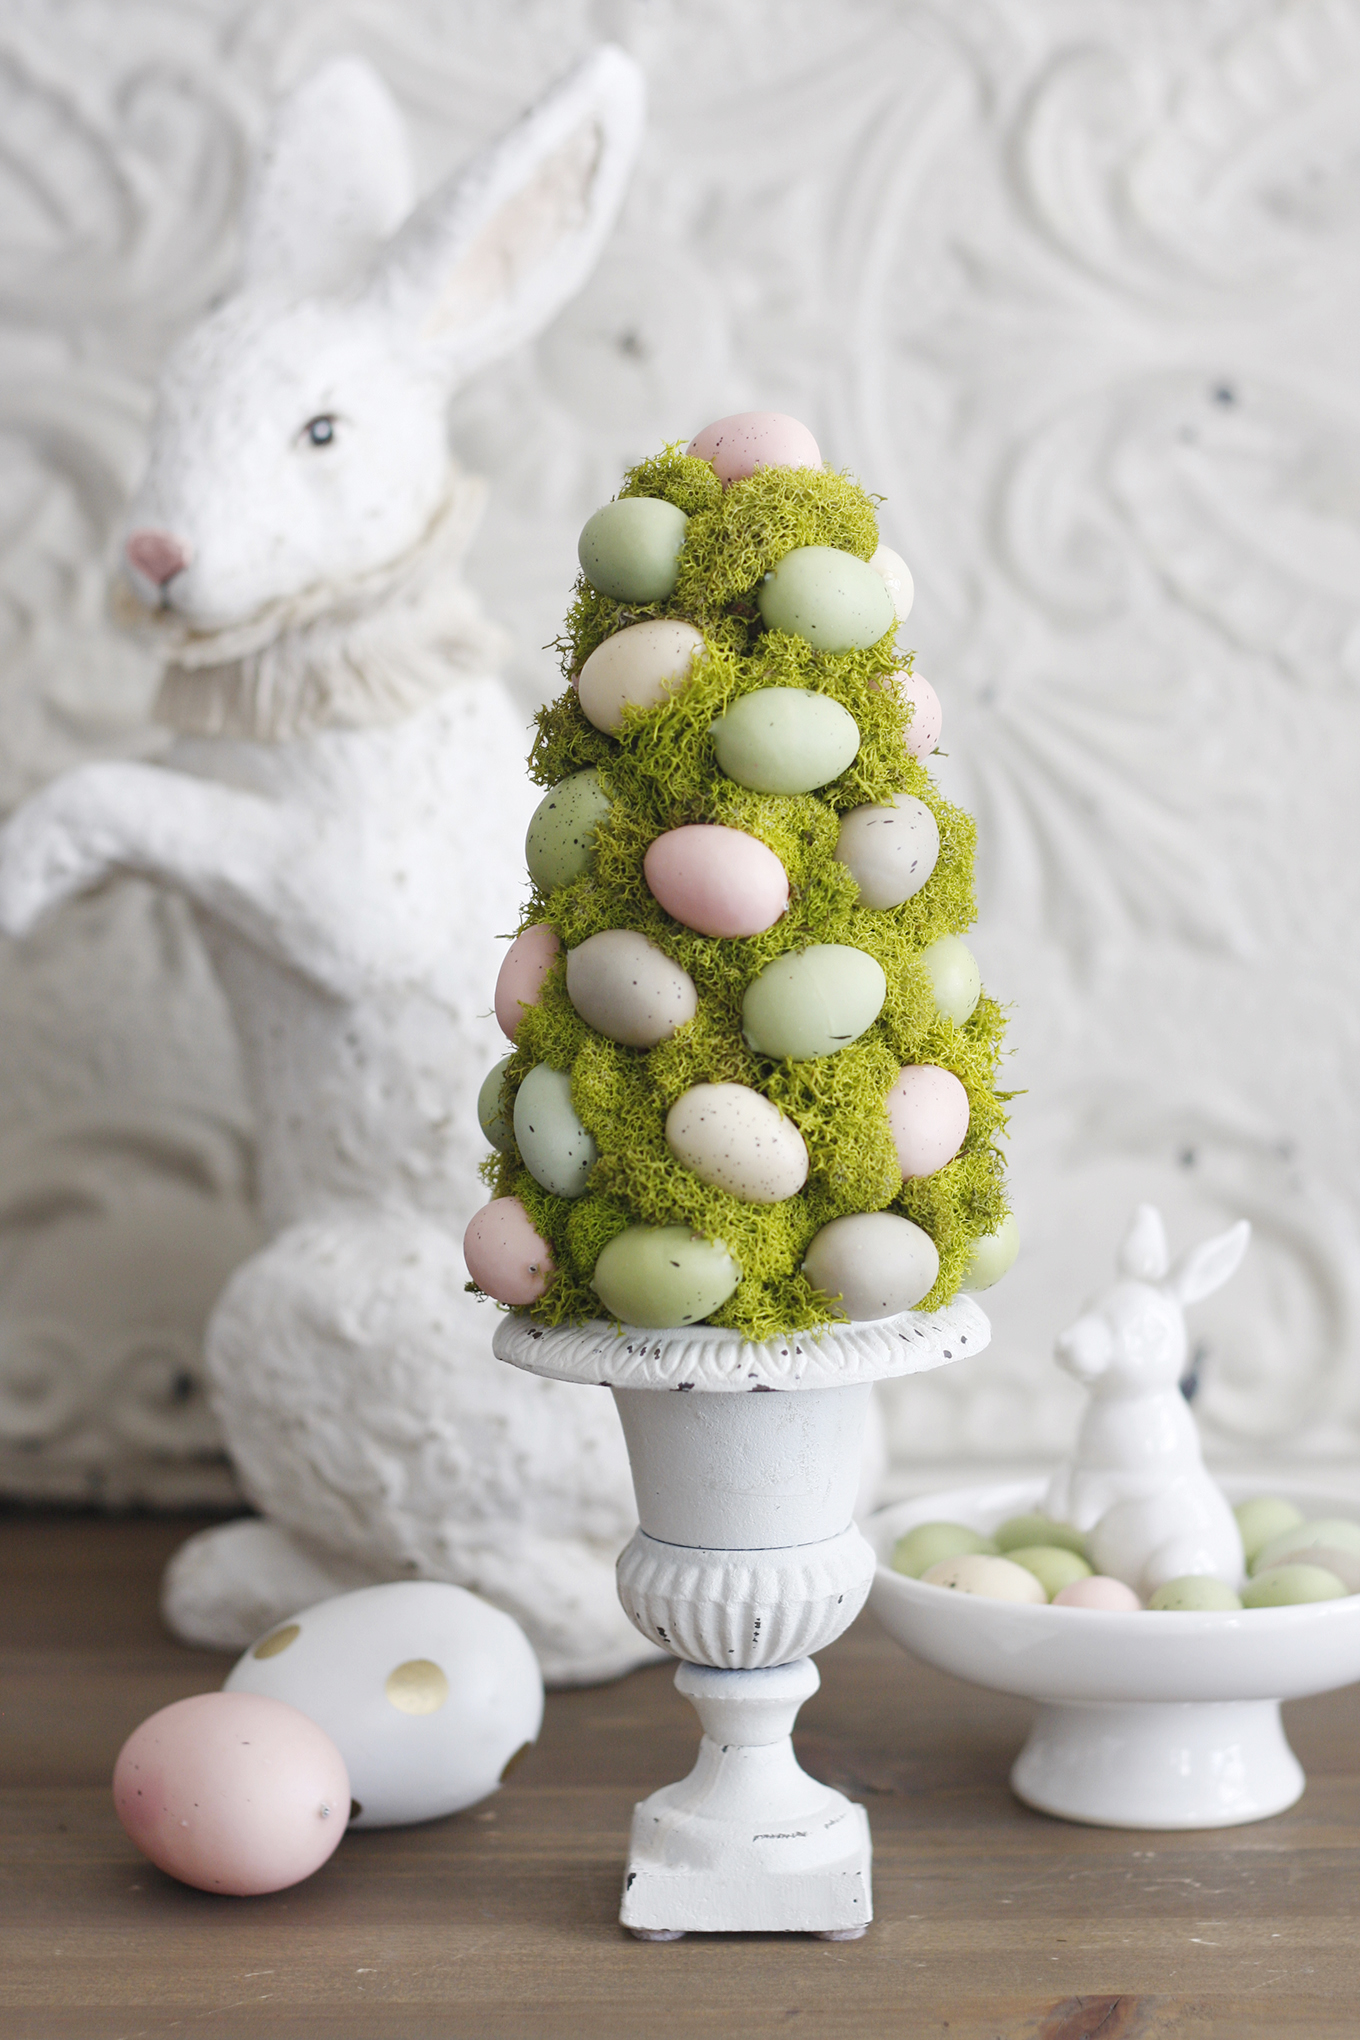 I purchased the mini eggs previously at Homesense and the urns were a thrift find at the flea market a few years ago, but I am sure that a vase would work just as well. This is a super easy craft idea to do as all it really requires is gluing and tucking things into place. The only unfortunate thing is that I did not have enough mini eggs to make two topiaries like I had planned. Now like a real Easter egg hunt, I need to look for about a dozen more mini eggs.
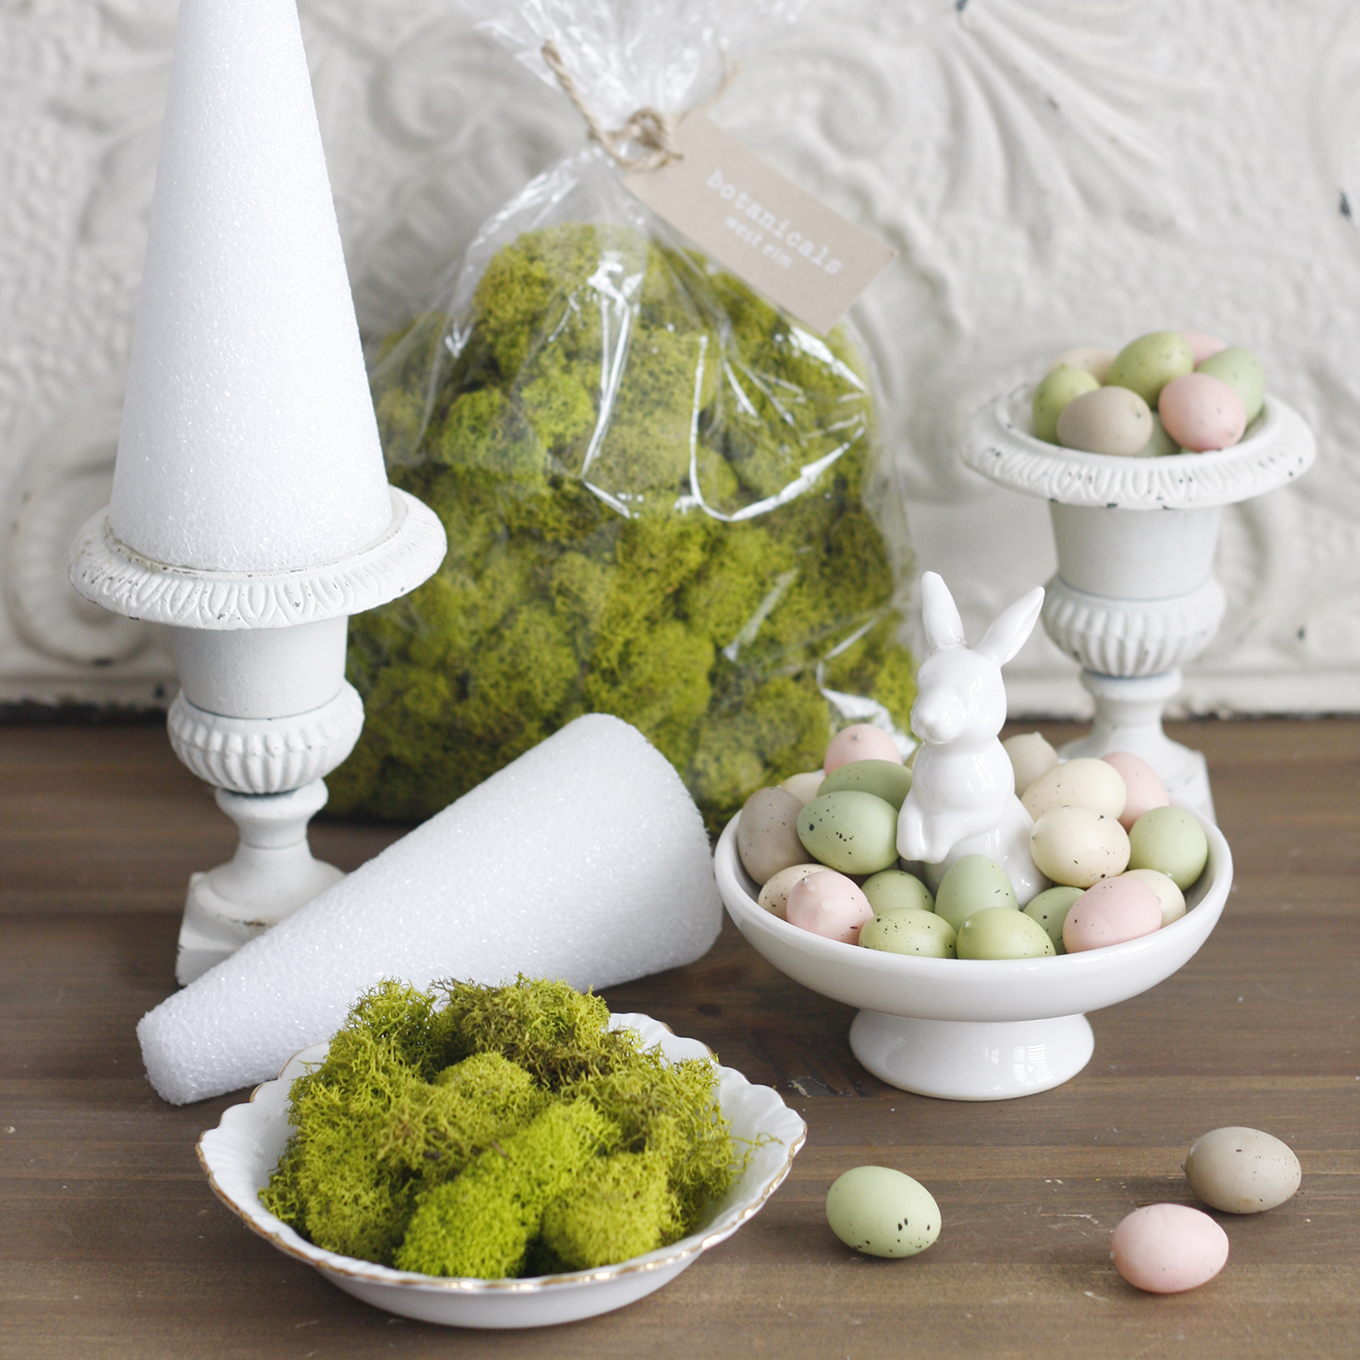 Materials & Tools
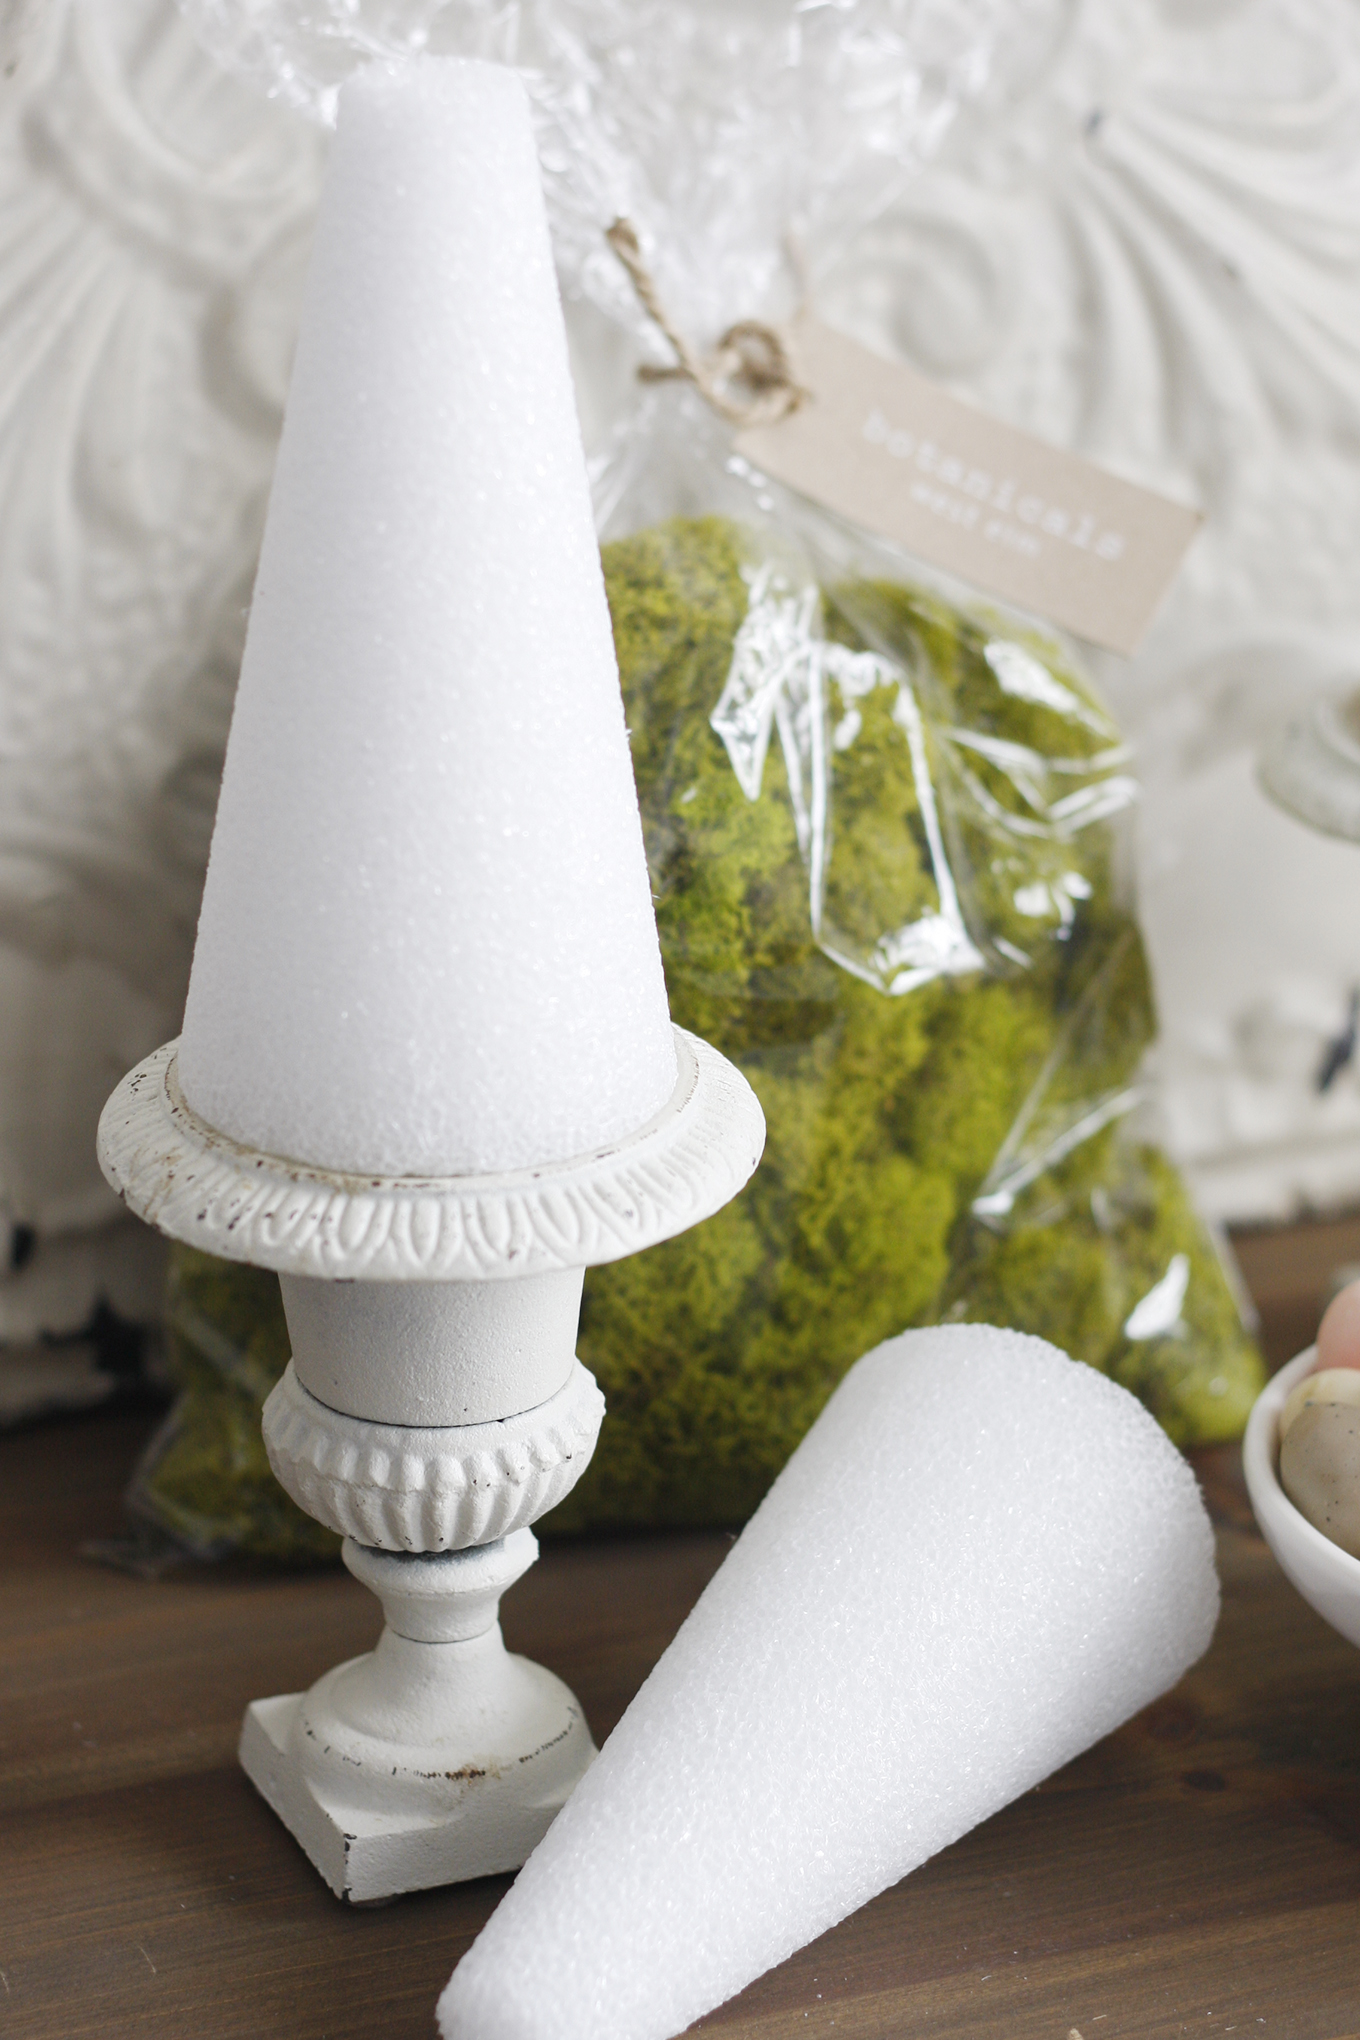
 Step 1
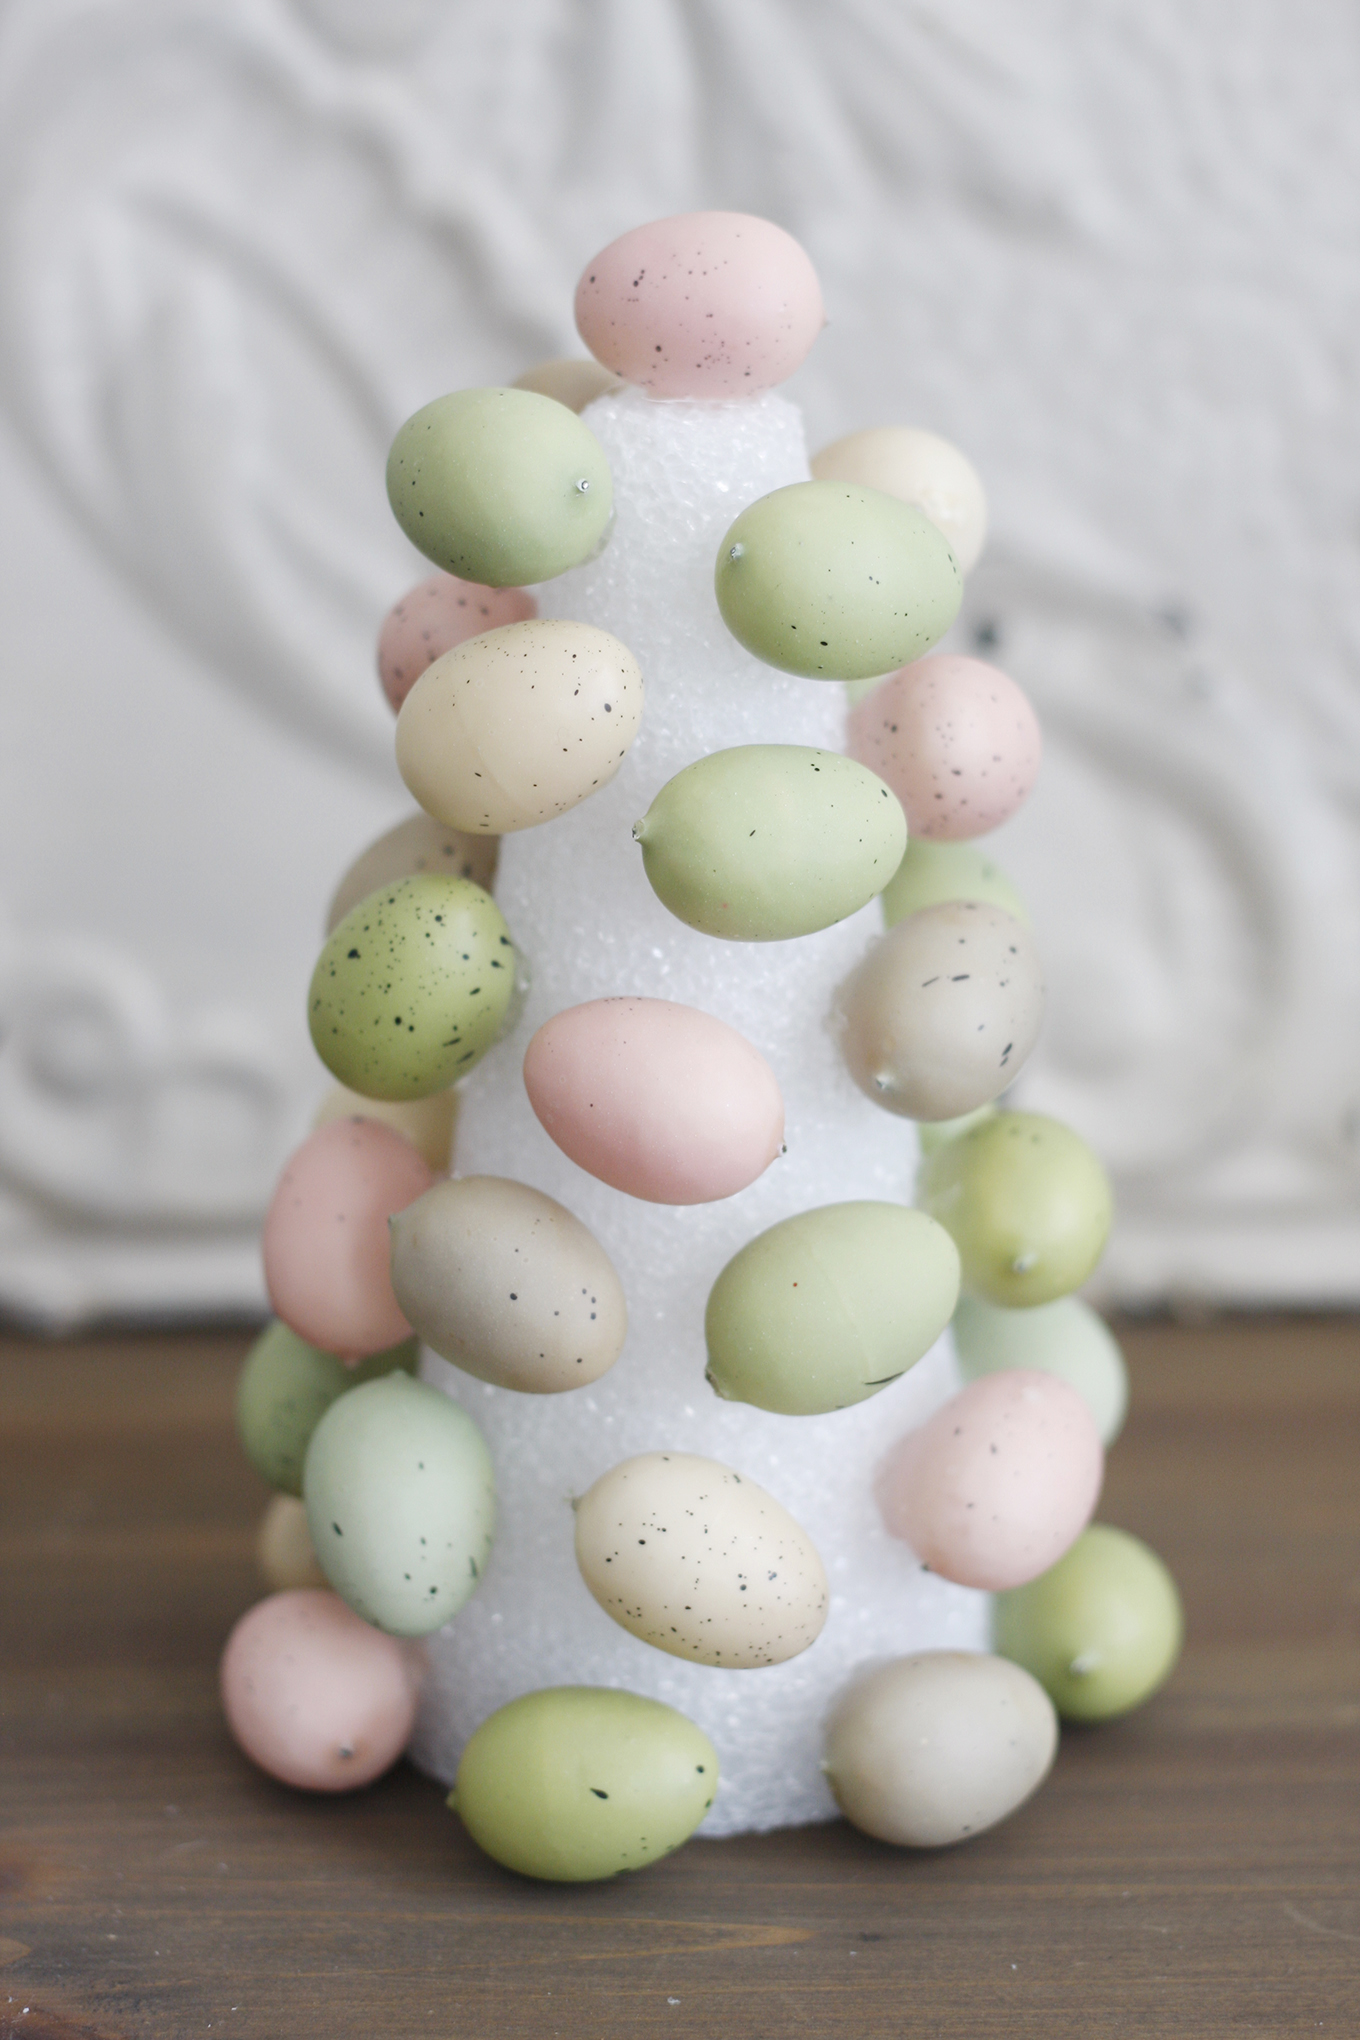 Step 2
 Step 3
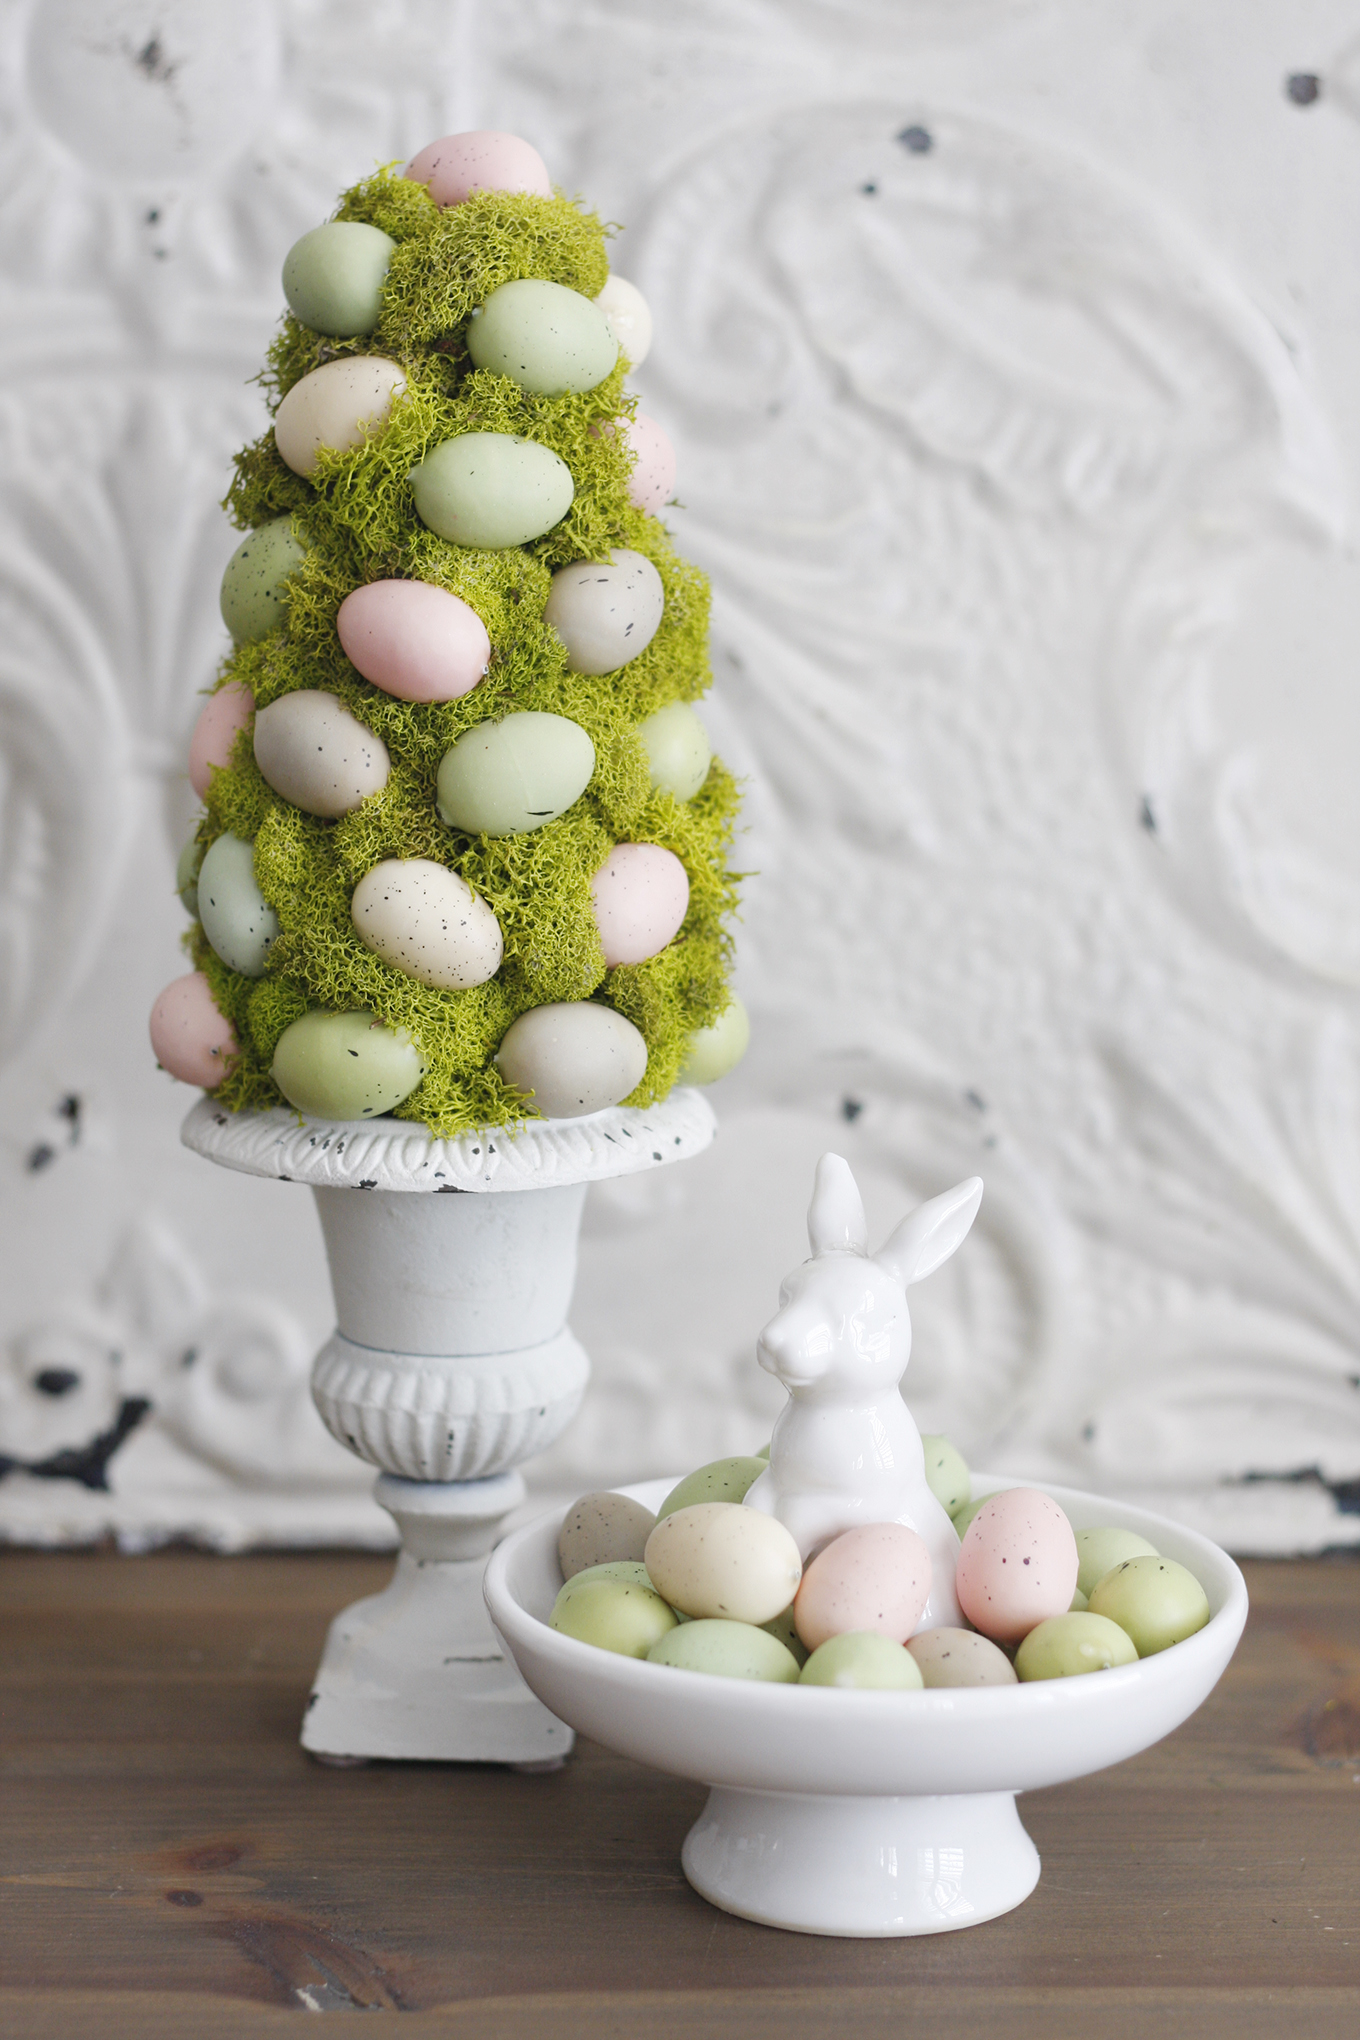
 Materials
 Tools
Tools Step 1
 Look….my cat Jasper photo bombed my picture! He was very interested in playing with the balloons and kept sneaking back into my shot. LOL
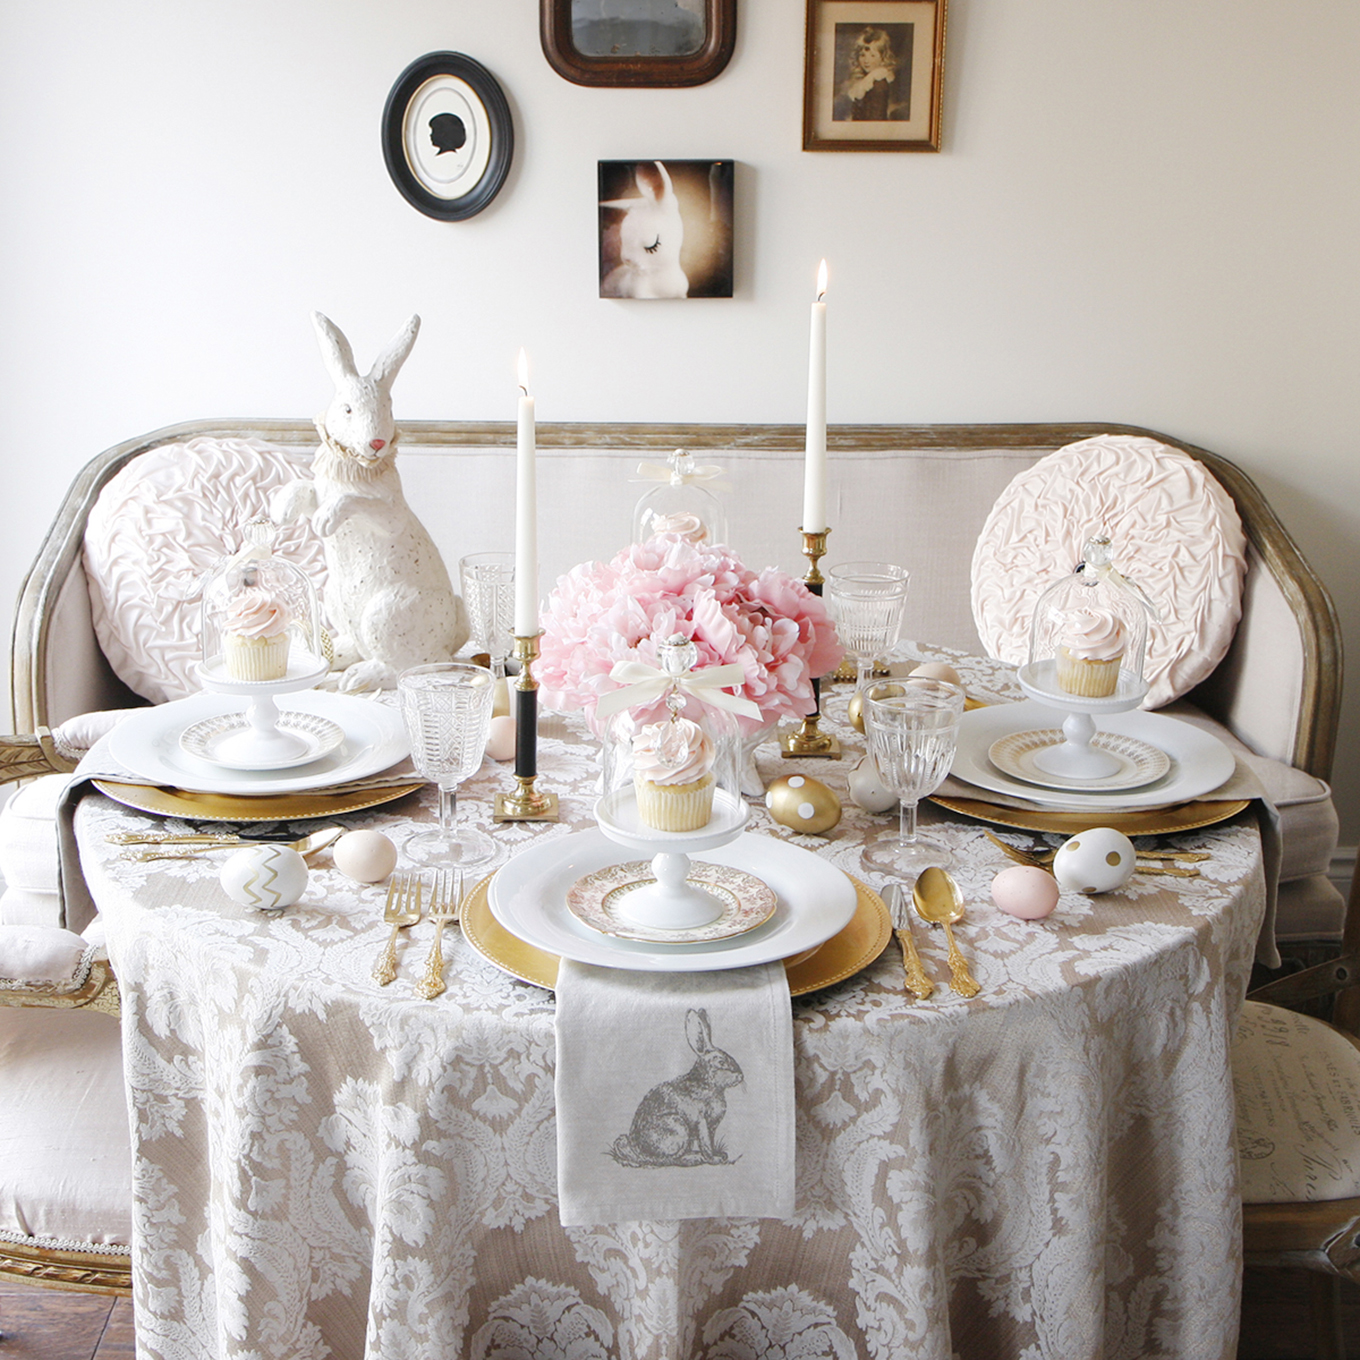
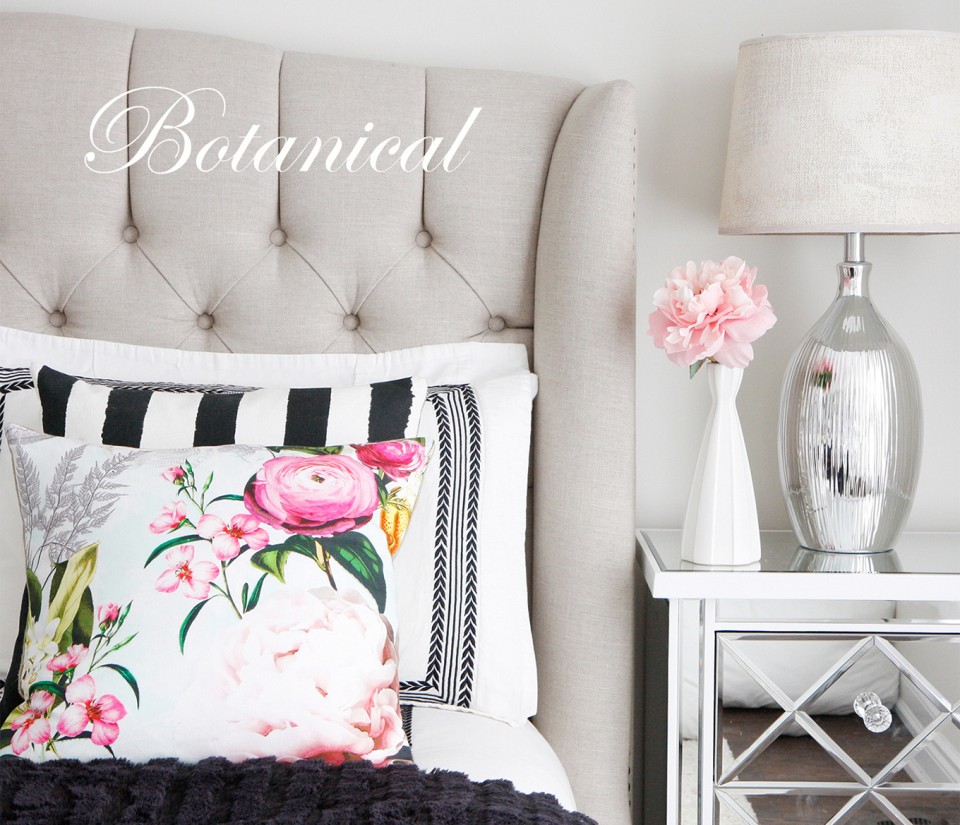
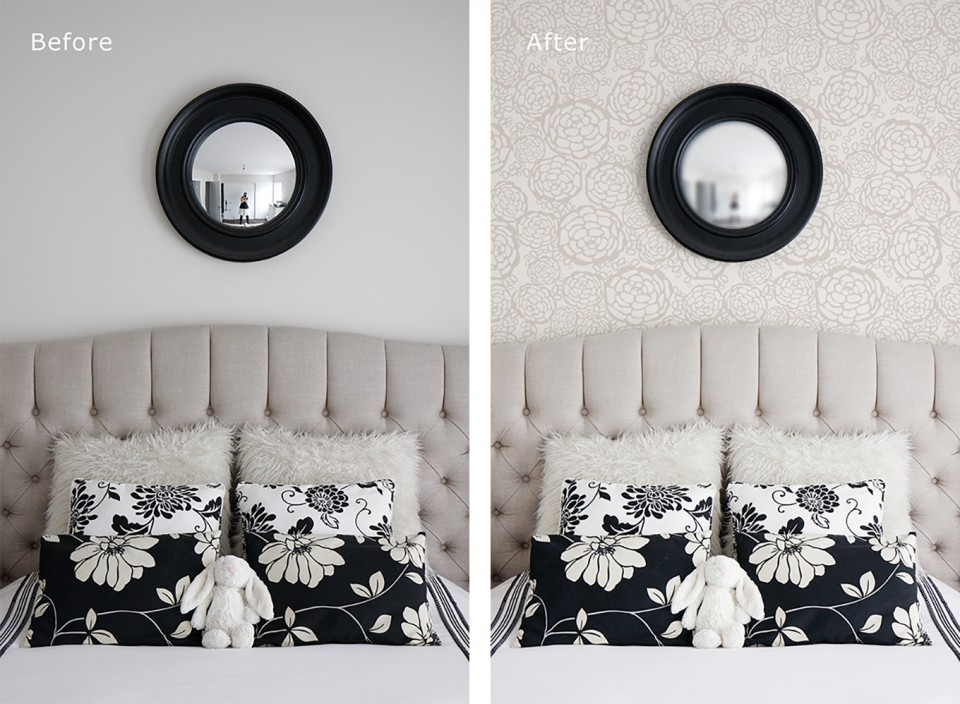 Luckily, I really love my bed with the tufted upholstery headboard, so this was an easy assignment to do. I have always wanted to put up wallpaper to create an accent wall in my bedroom, so this was my chance to see what ‘Petal Pusher’ by Oh Joy would look like. Fantastic! And yes, that is my baby stuffed bunny.
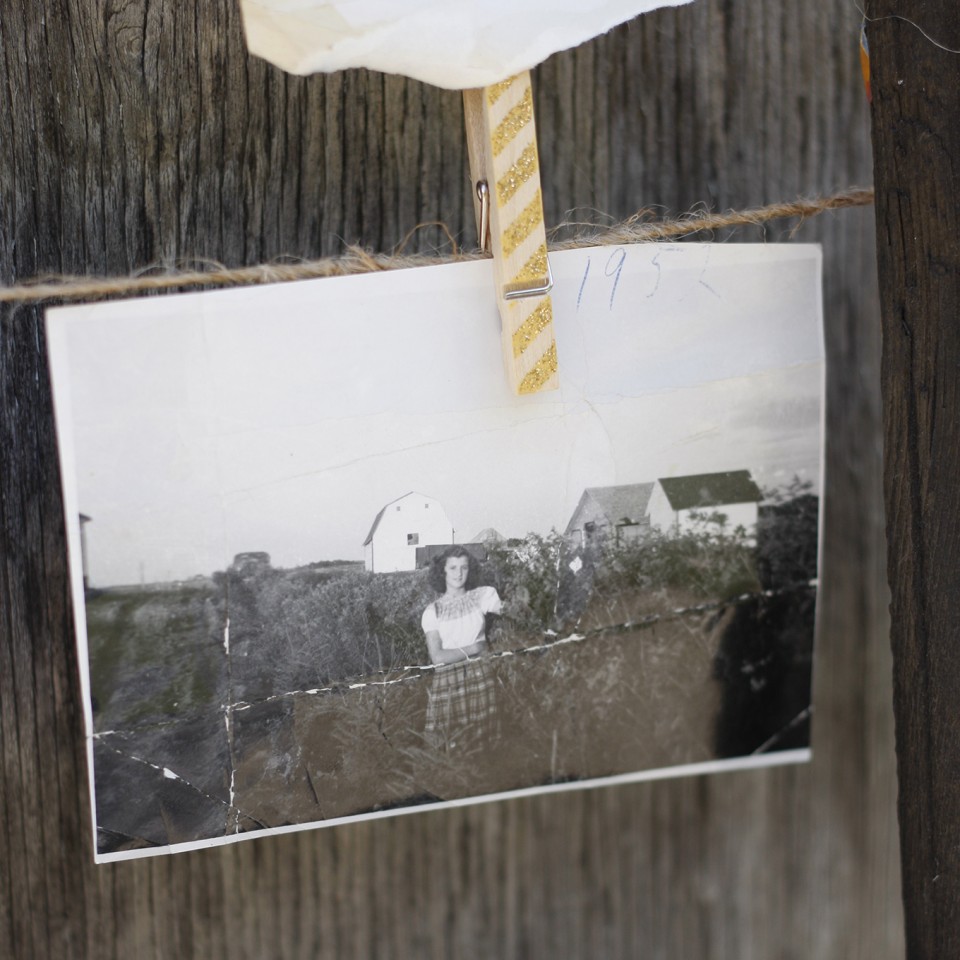
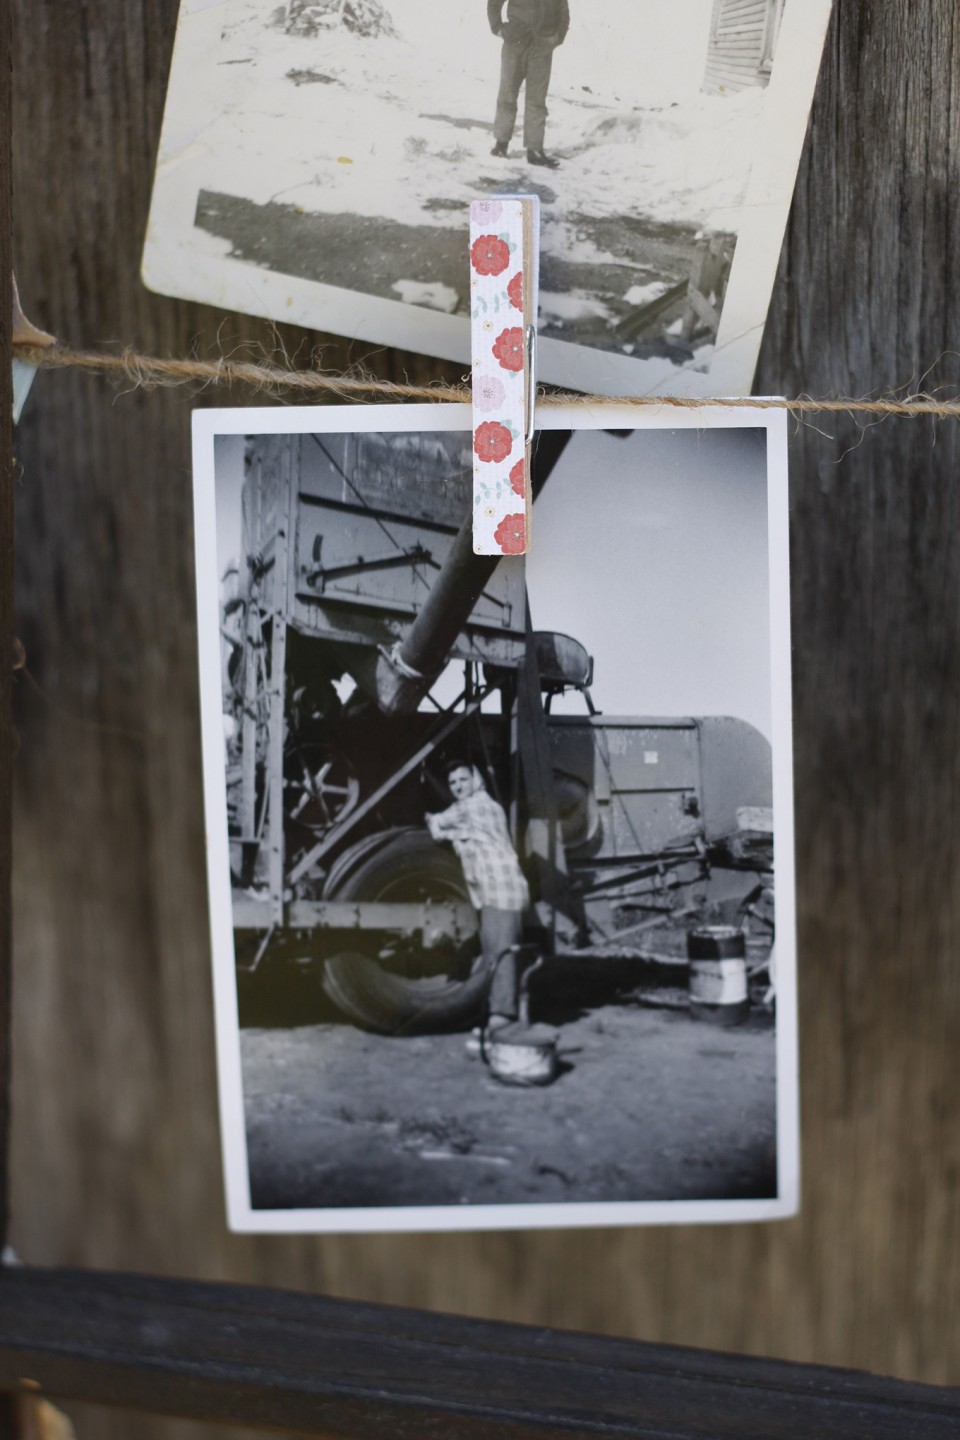
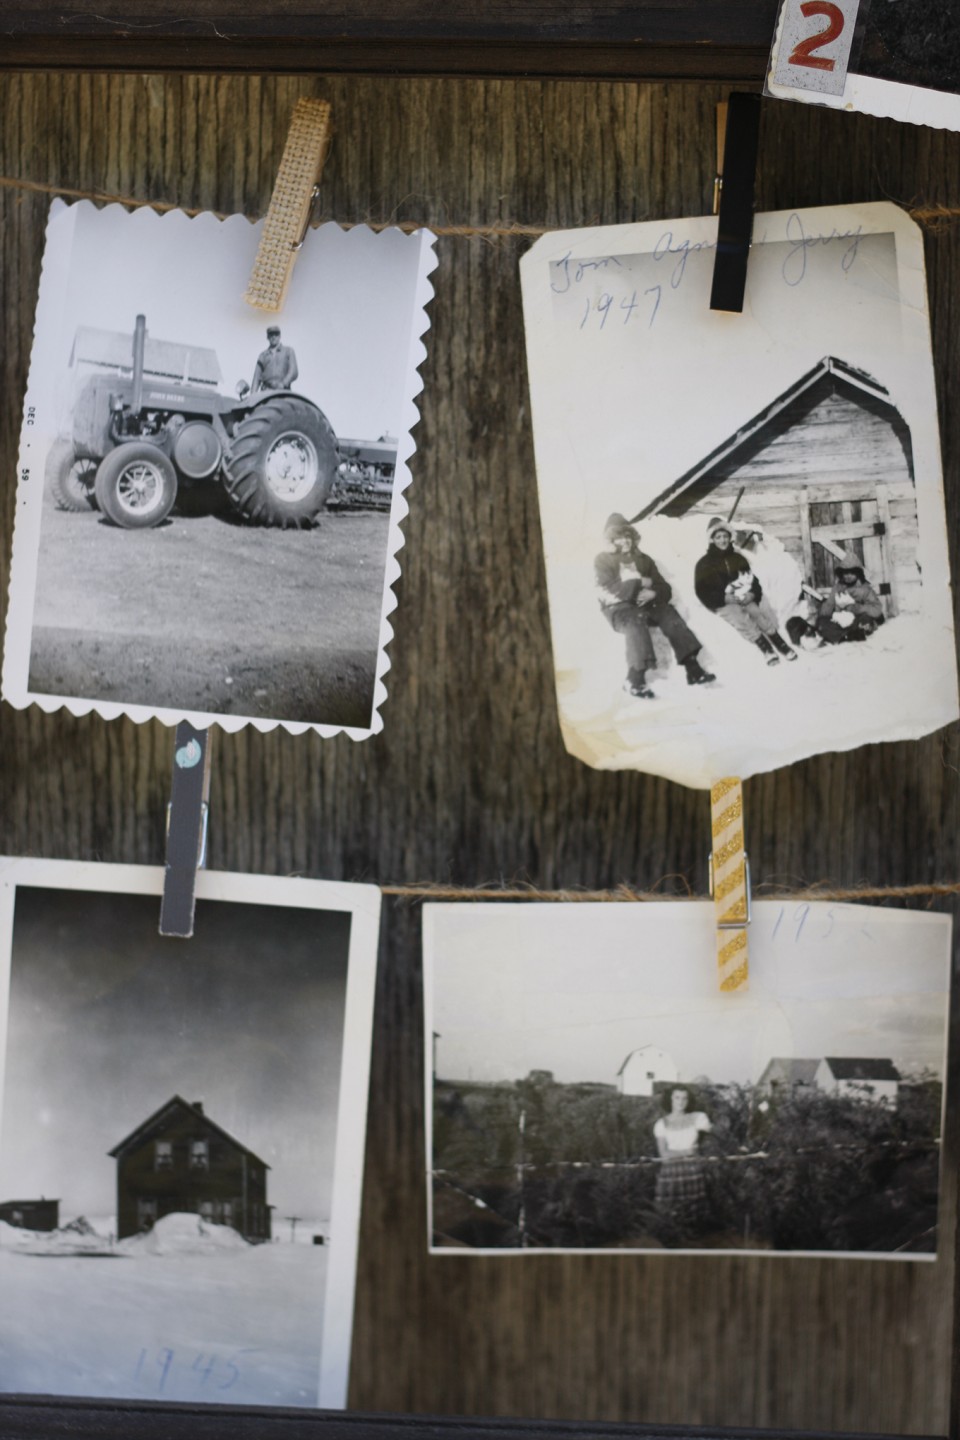
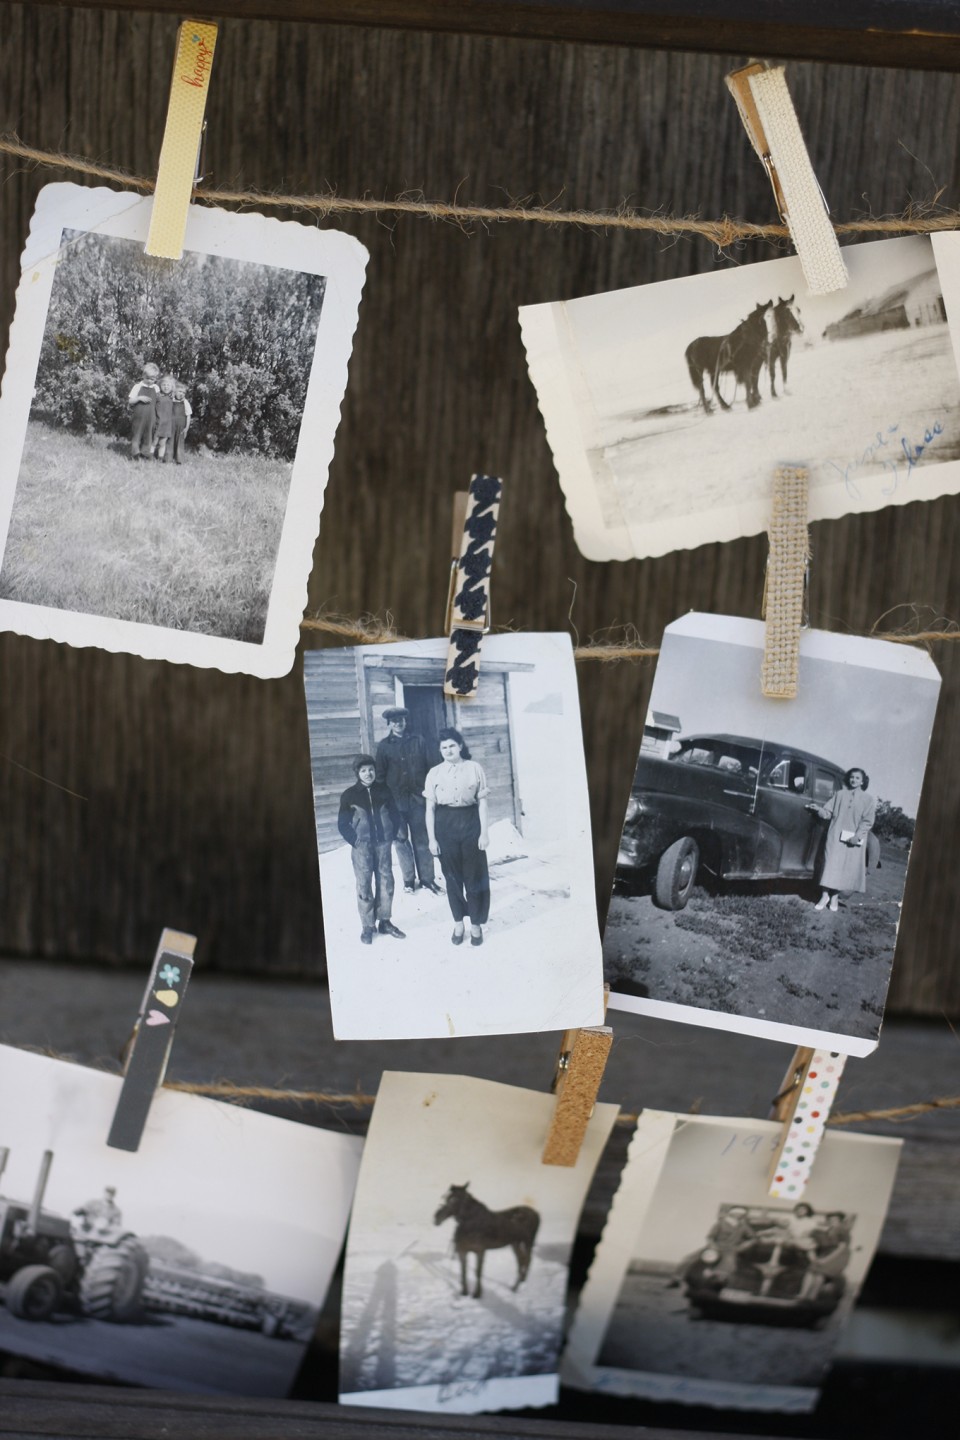
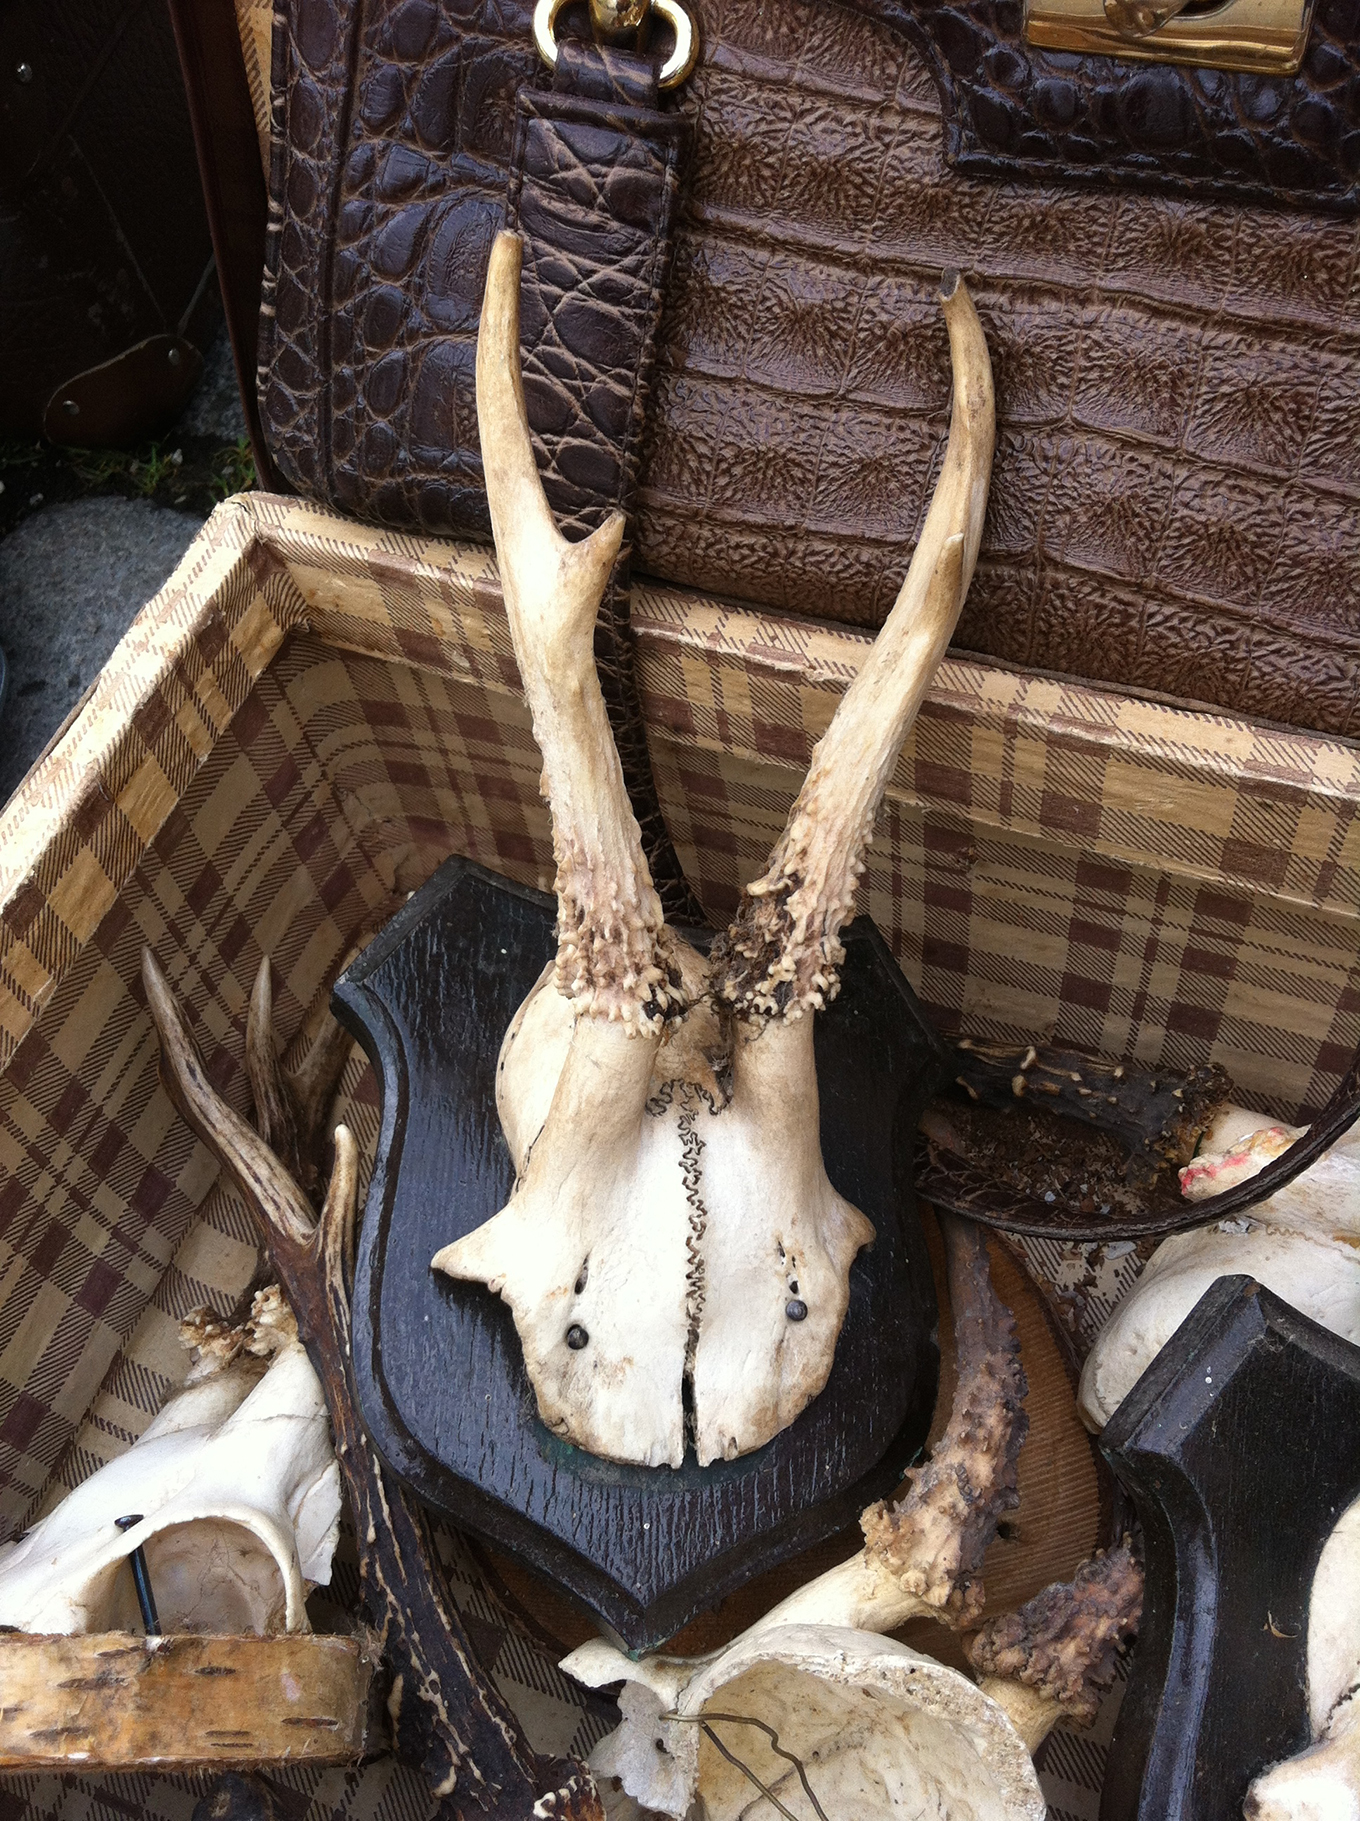
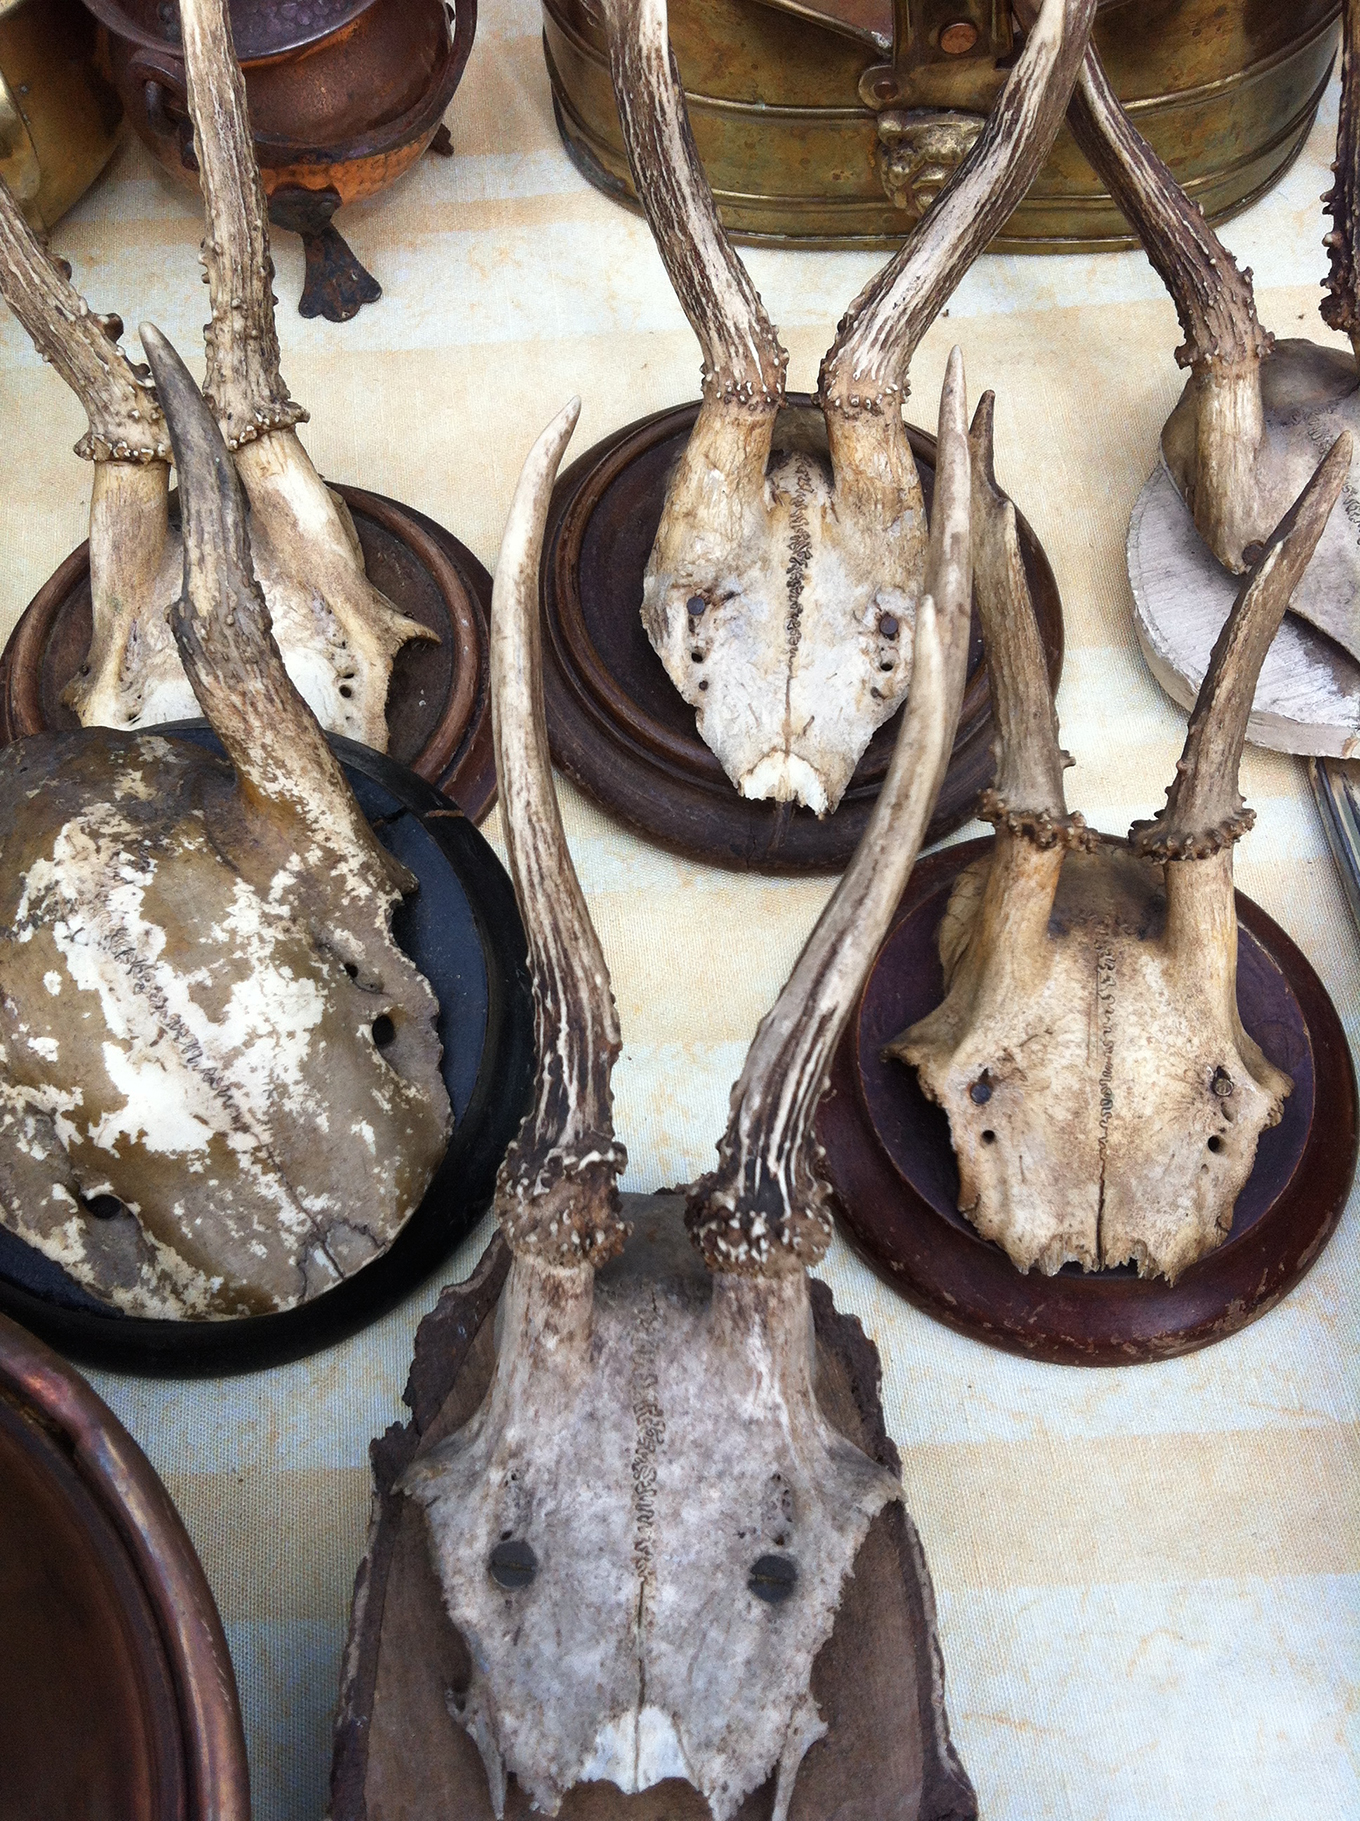
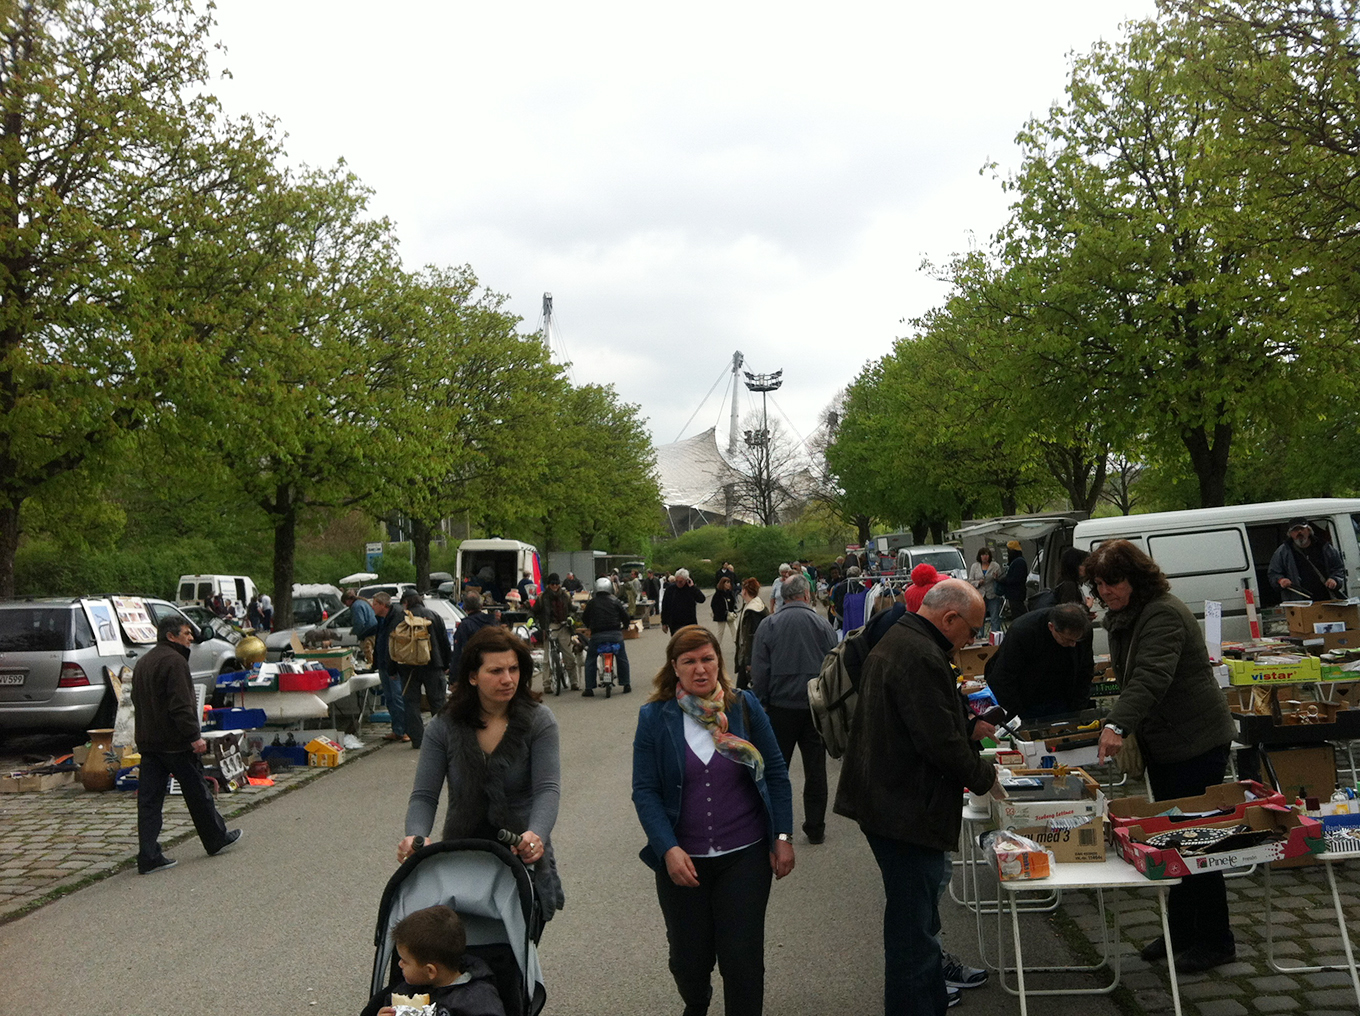 This outside flea market is on the parking lot grounds of a sport stadium and it was row upon row of merchants selling stuff out of their vehicle. Generally, there has never been a flea market I did not like, but I must say that my first impression of this flea market seemed ‘trashy’. Luckily, as I went deeper into the market, things got better and I found a few treasures that caught my eye.
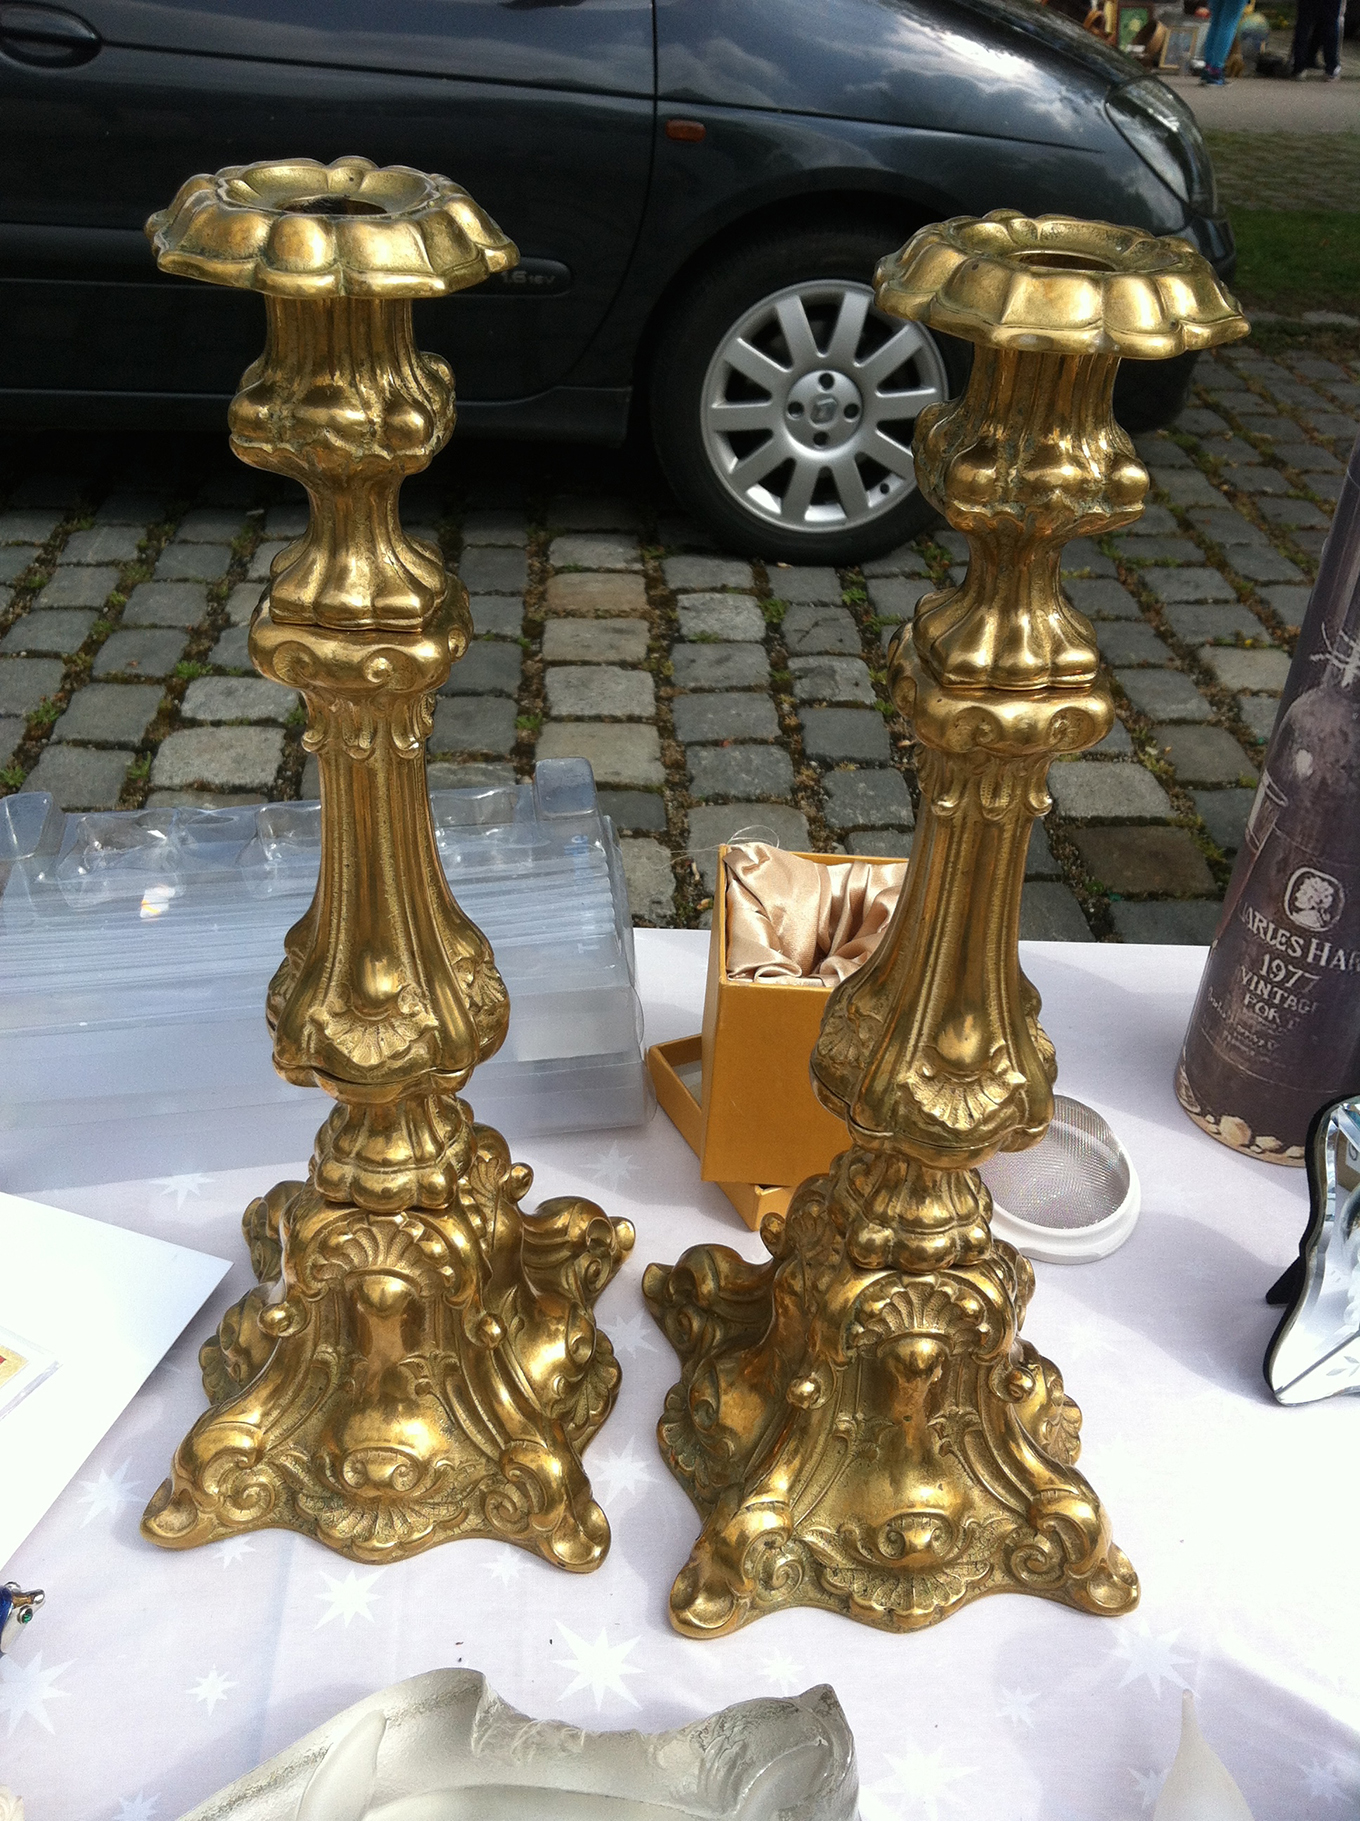 These huge gold candle holders might seem a bit over-the-top on their own, but I could envision them transformed with a new coat of spray paint in a trendy colour. Or even black to take them to being classy and elegant. But alas, they were GIANT and looked like they weighed a ton so they definitely did not come home with me.
 But then I quickly realized how hard it was going to be! For someone who has ‘scavenged’ at flea markets all over the world and I am fortunate to have found so many meaningful things on my travels — how do I just pick one thing? For a collector (and hoarder) like me, it was a tough assignment. Is it going to be my stuffed toy bunny from Paris? Or the celestial prints from New York? After much debate, I submitted the following…
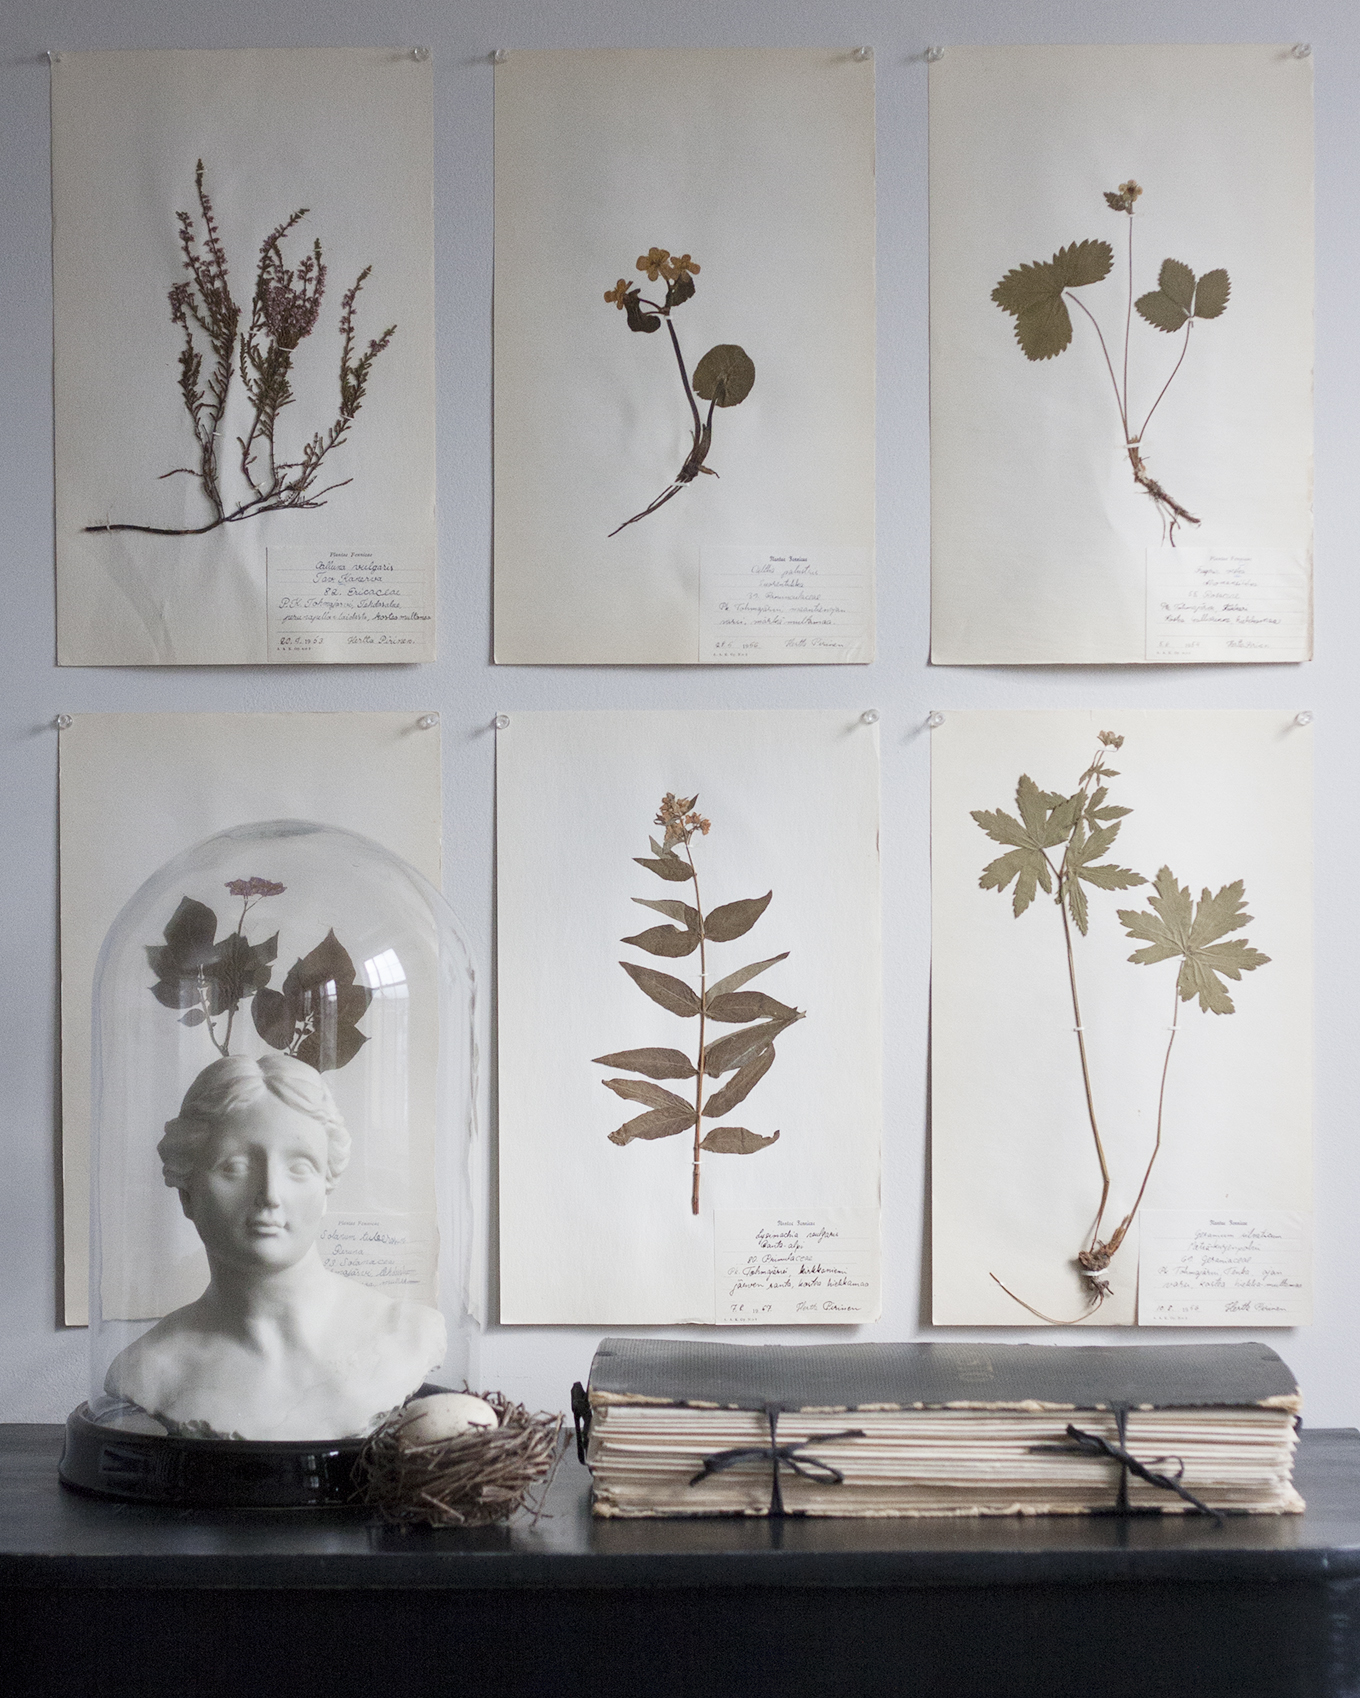 In 1998, I worked in Stockholm for three months. At the Loppmarknaden located in Vårberg, I discovered a large black folio titled ‘Kasvisto’. I had no idea what the title meant until I opened it and found a collection of pressed flowers and plants from the 1950’s. It reminded me of when I was a little girl and how much I loved collecting pretty flowers from the garden and pressing them in between large stacks of phone books. I was so happy to bring the folio home with me and is a dear reminder of my time in Sweden.
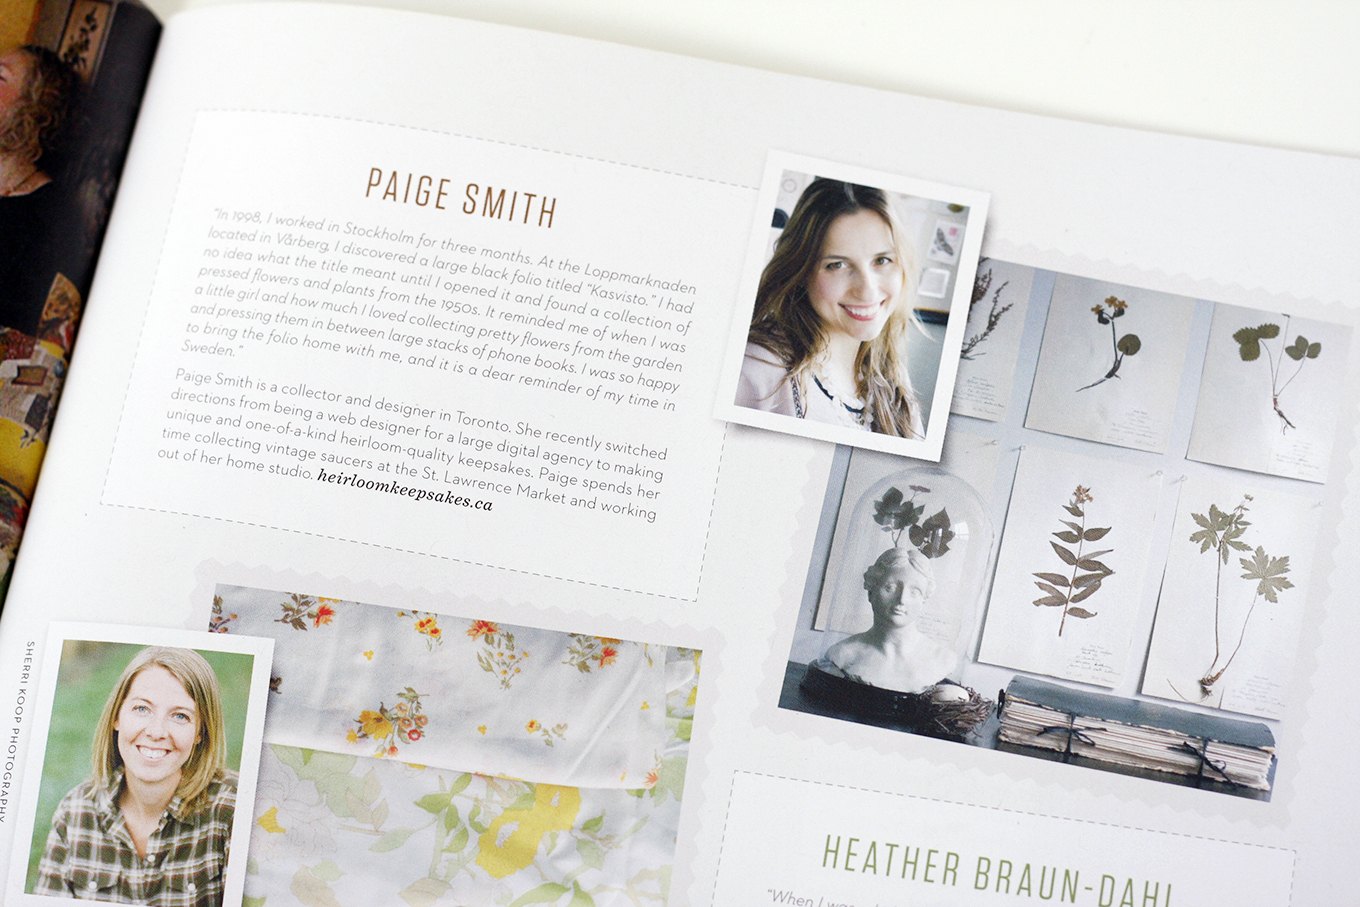 Have you heard of